Increase & Decrease Number of Axis Ticks in R (2 Examples)
In this tutorial, I’ll show how to change the number of axis tick marks in a plot in the R programming language.
The article will contain the following topics:
If you want to know more about these topics, keep reading…
Creation of Example Data
Before all else, we’ll need to create some example data:
set.seed(345286754)                 # Create example data frame
data <- data.frame(x = rnorm(1000, 10, 100),
                   y = rnorm(1000, 10, 100))
head(data)                          # Print head of example data frame
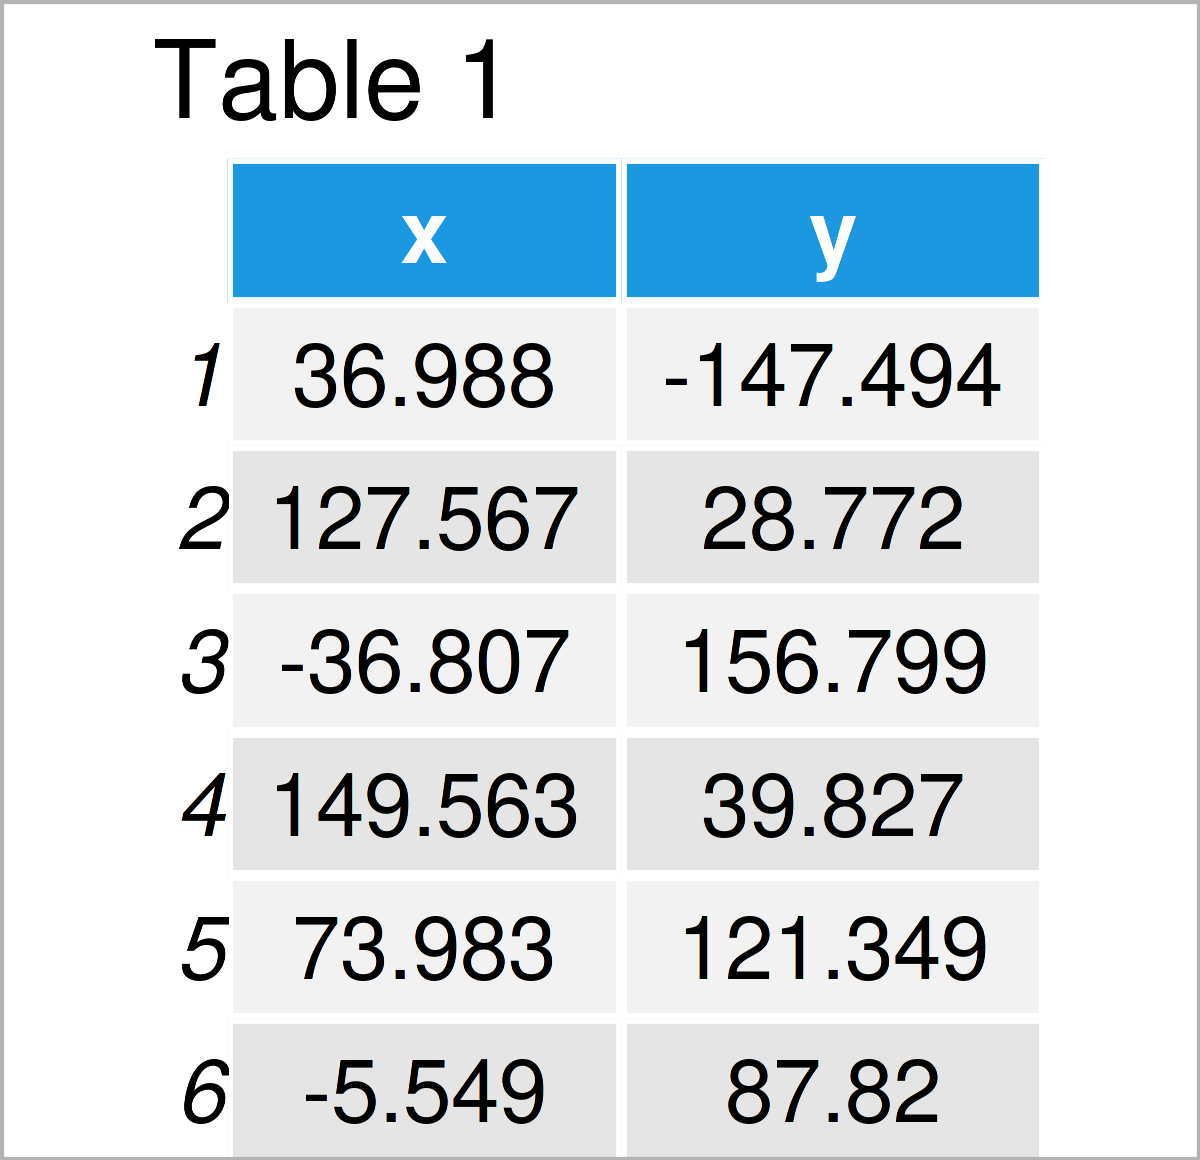
Table 1 shows the head of our exemplifying data – as you can see, our data is made of two columns.
Example 1: Change Number of Axis Ticks in Base R Plot
In Example 1, I’ll illustrate how to increase or decrease the number of axis ticks in a Base R plot.
Let#s first create a Base R plot with default specifications:
plot(data$x,                        # Base R plot with default axis ticks
     data$y)
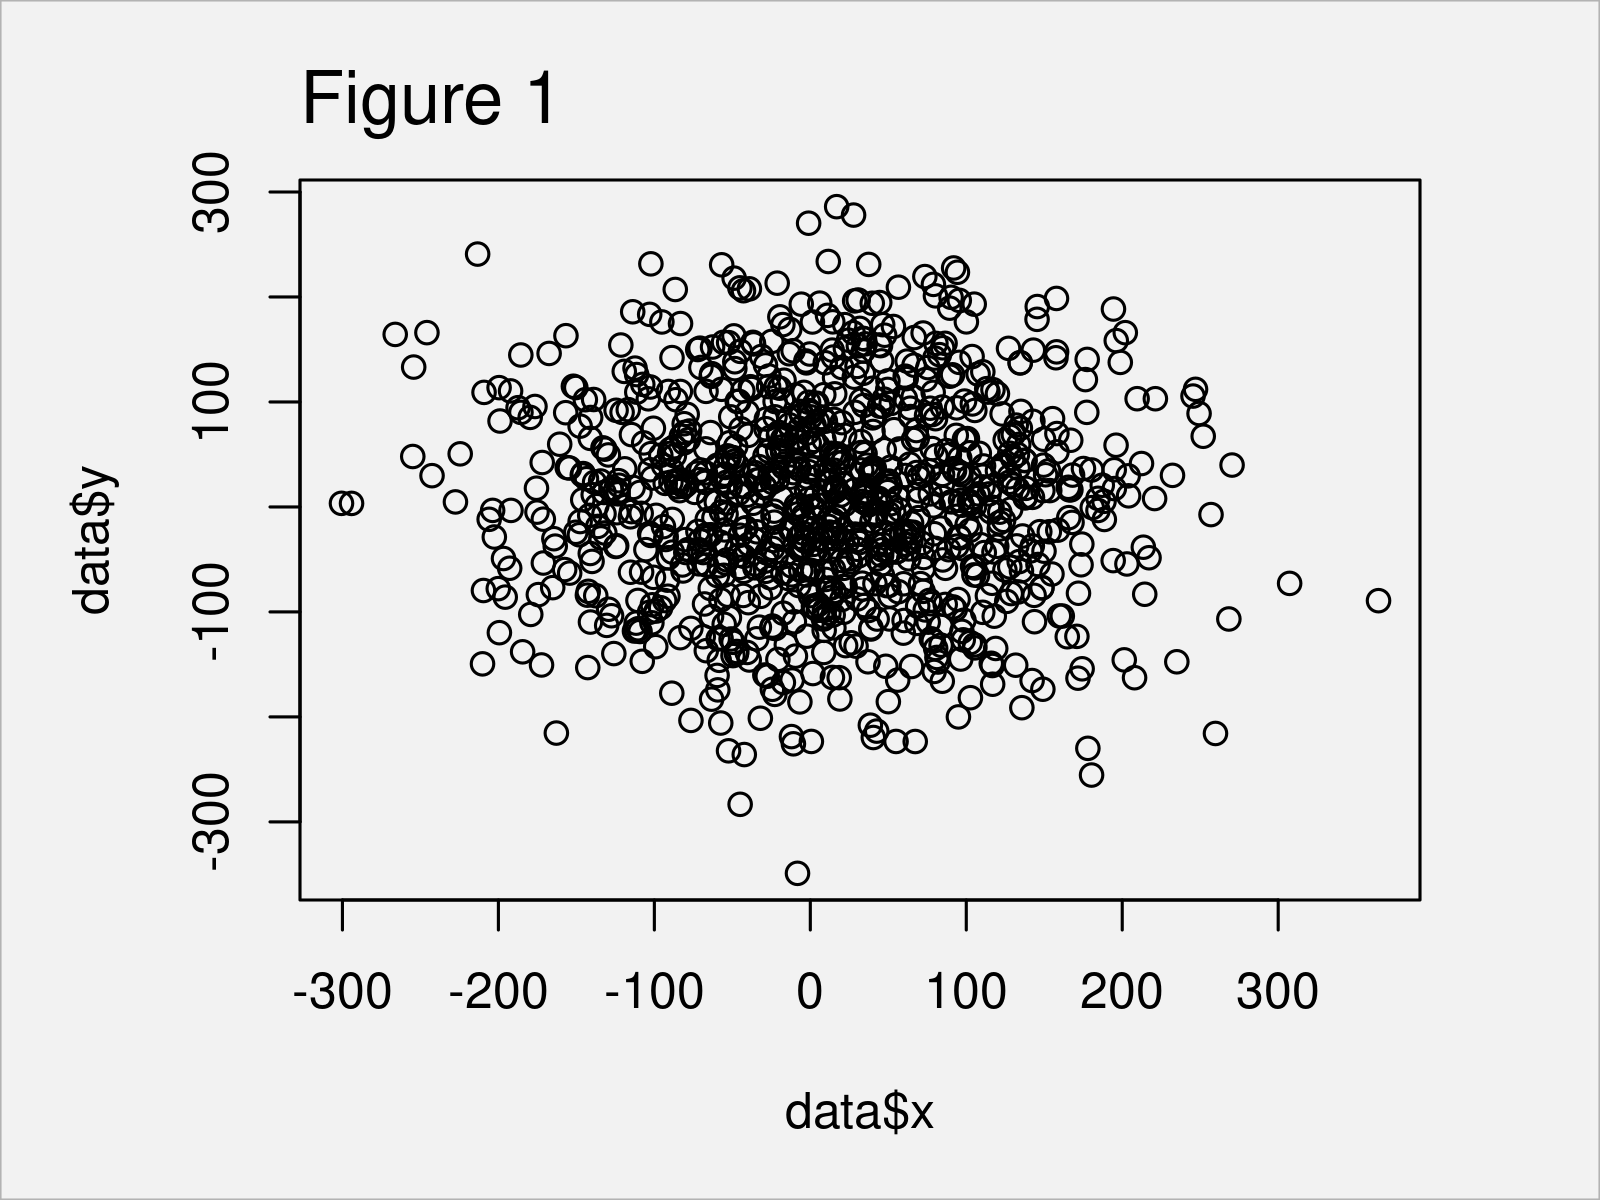
Figure 1 shows the output of the previous code: A Base R scatterplot with default axis tick marks.
If we want to change the number of axis ticks in this graph, we can use the xaxp argument. Within xaxp, we can specify the number of breaks for the axis ticks (i.e. 20):
plot(data$x,                        # Base R plot with manual axis ticks
     data$y,
     xaxp = round(c(min(data$x),
                    max(data$x),
                    20)))
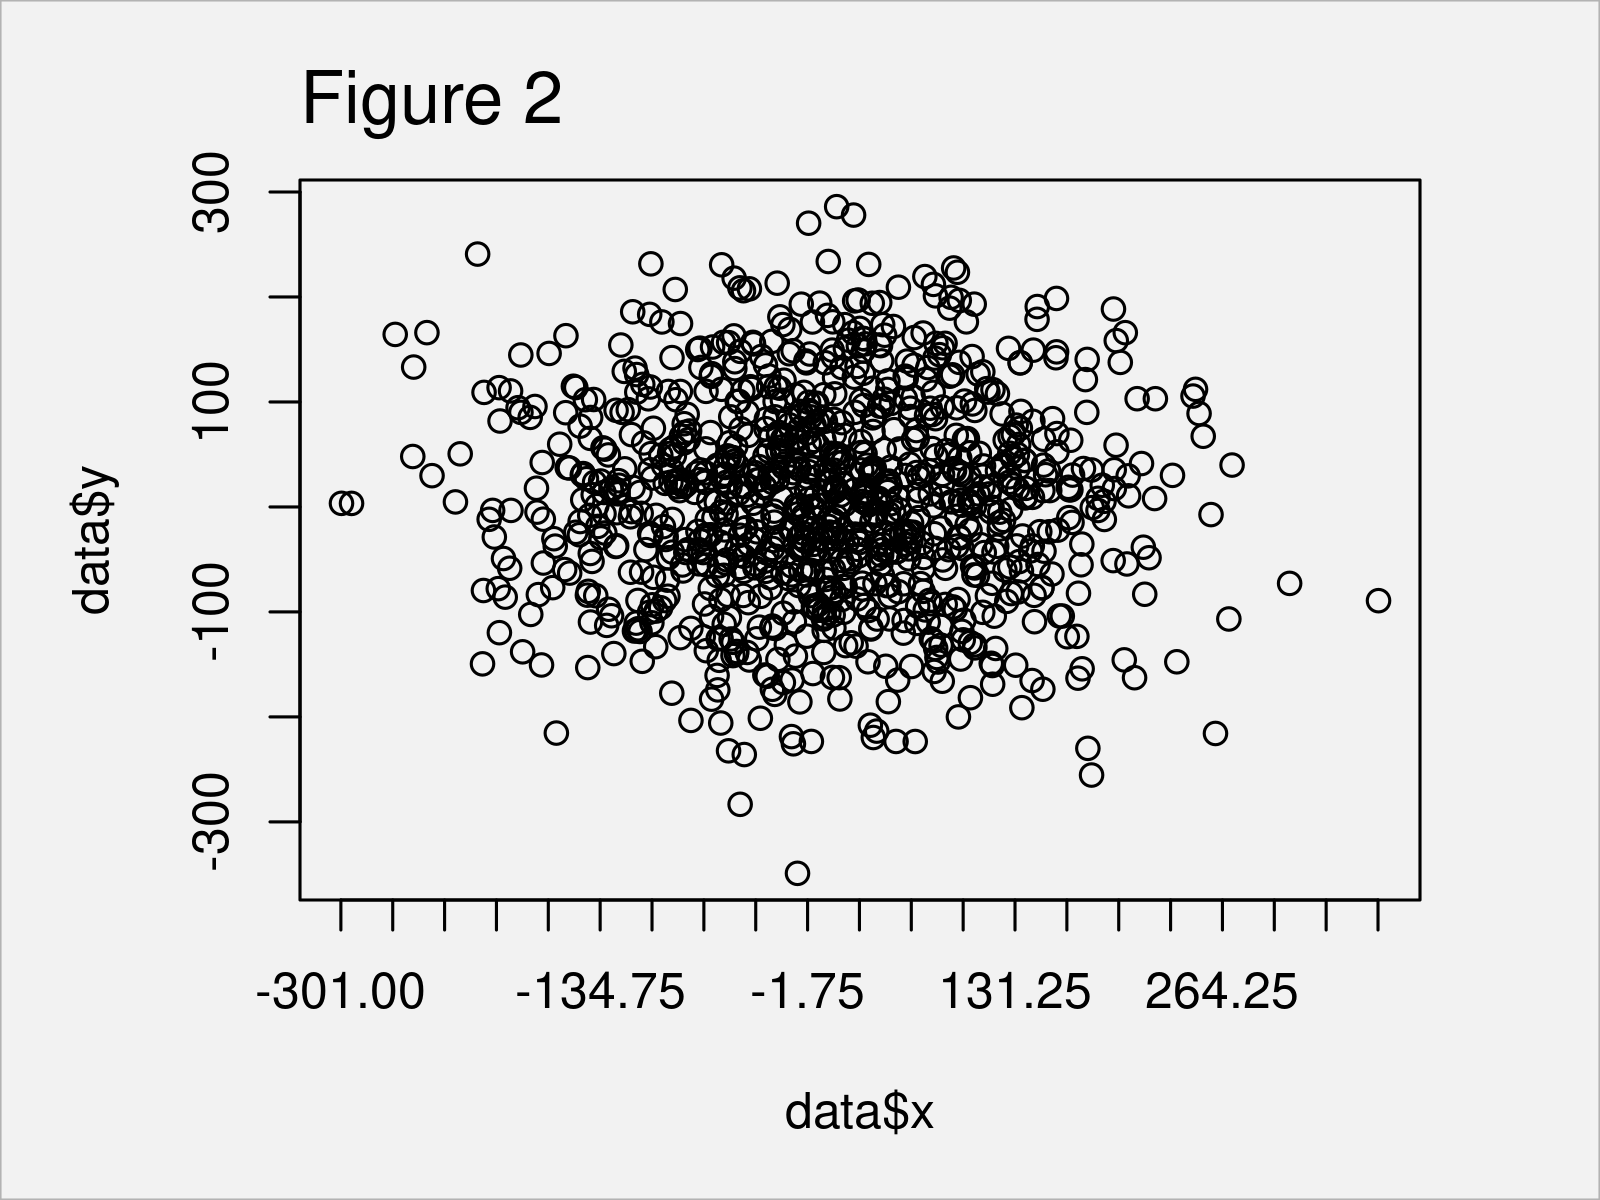
After running the previous R syntax the plot shown in Figure 2 has been created. As you can see, we have changed the spacing between the axis tick marks.
You may play around with the values assigned to the xaxp argument to make the axis ticks prettier.
However, an even better way (in my opinion) to create a plot with many axis ticks is provided by the ggplot2 package – and this is what I’m going to show you next.
Example 2: Change Number of Axis Ticks in ggplot2 Plot
This example explains how to modify the axis ticks of a ggplot2 plot.
If we want to apply the functions of the ggplot2 package, we first have to install and load ggplot2:
install.packages("ggplot2")         # Install & load ggplot2 package
library("ggplot2")
Next, we can draw a ggplot2 scatterplot using the R syntax below:
ggp <- ggplot(data, aes(x, y)) +    # Create ggplot2 scatterplot
  geom_point()
ggp                                 # Draw ggplot2 scatterplot
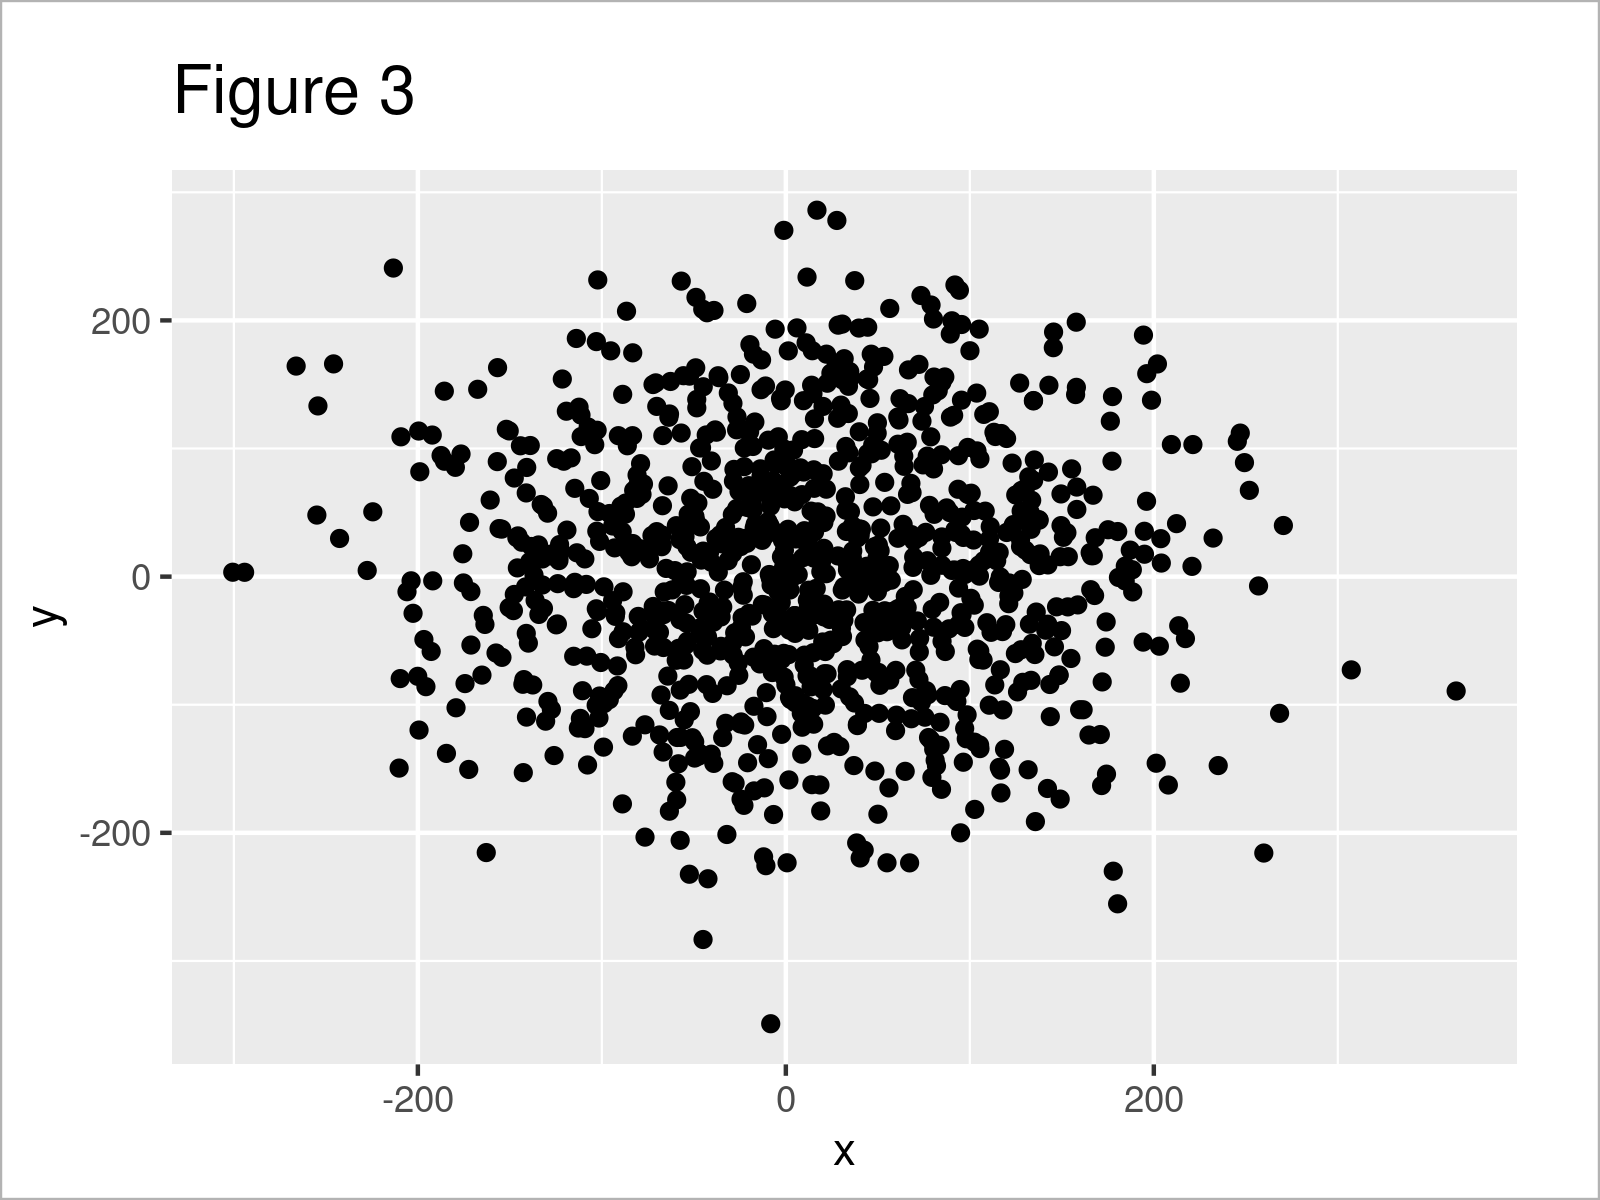
Figure 3 shows the output of the previous R code – A ggplot2 scatterplot with default axis settings.
In the next step, we can change the axis tick marks of our plot using the scale_x_continuous, round, seq, min, and max functions:
ggp +                               # Change axis ticks
  scale_x_continuous(breaks = round(seq(min(data$x), max(data$x), by = 50)))
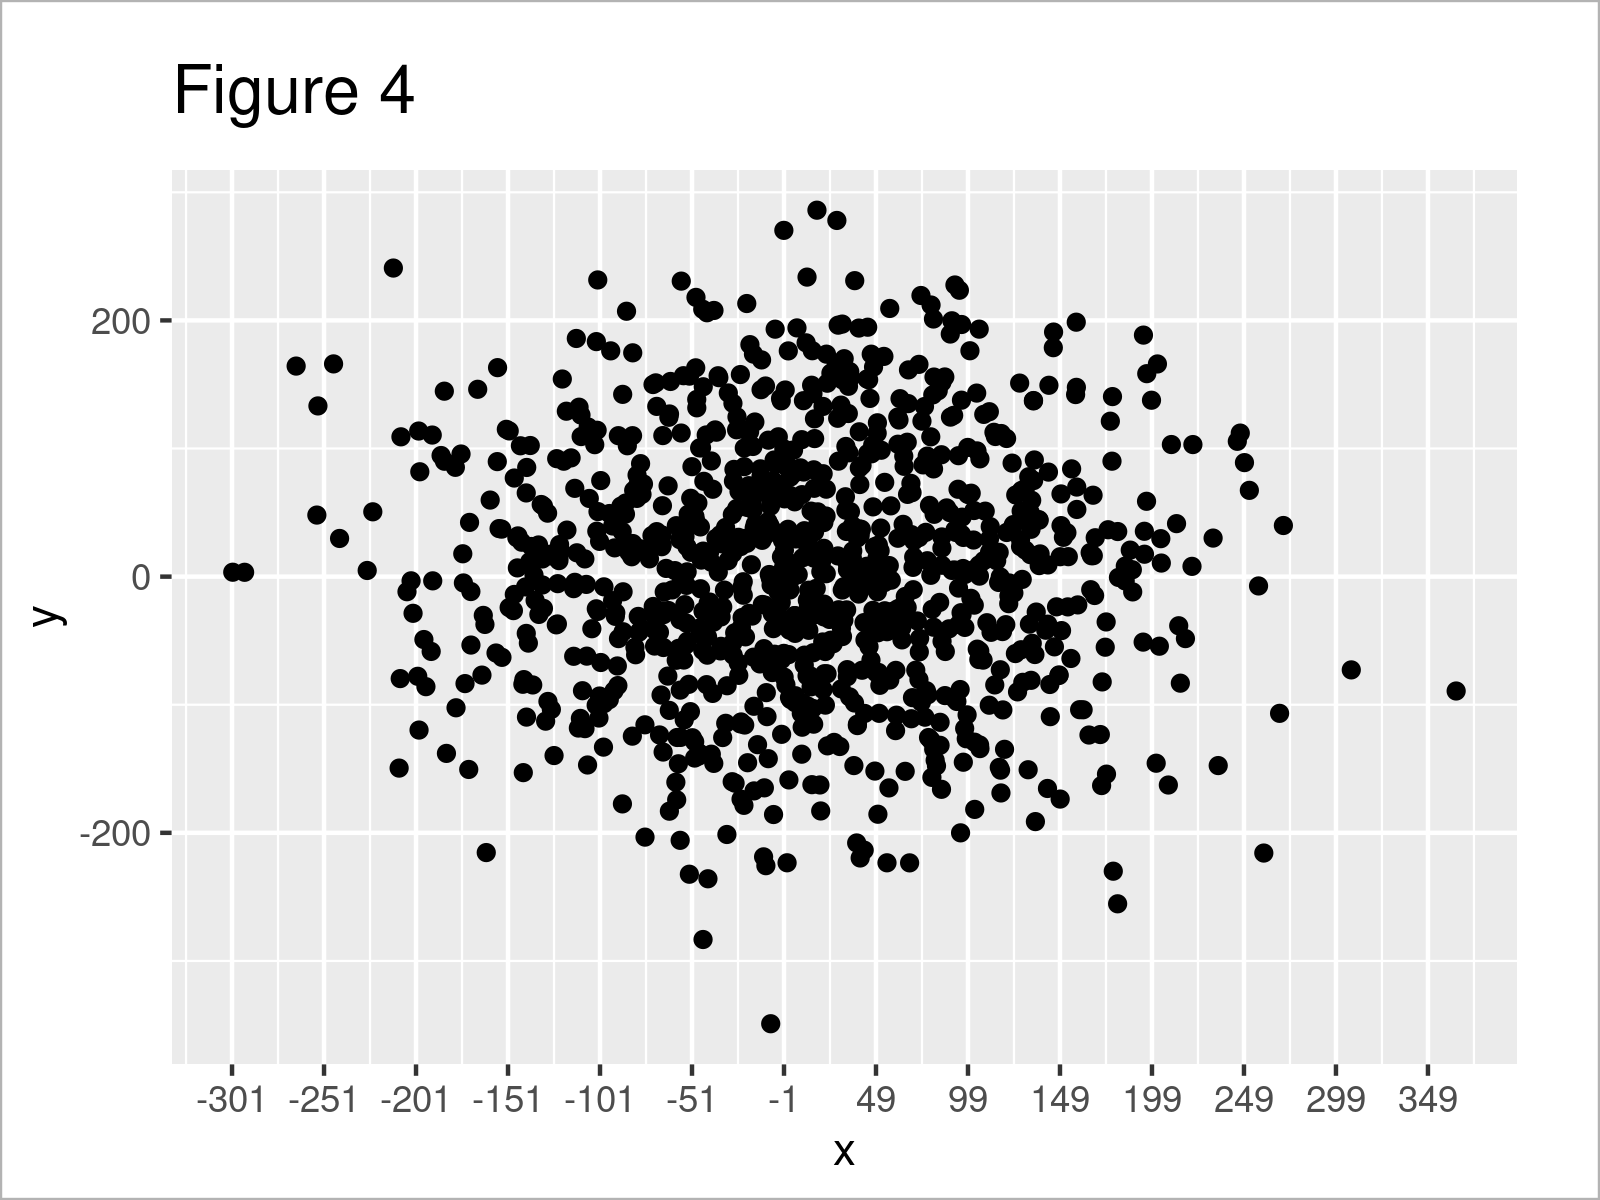
As shown in Figure 4, we have plotted a ggplot2 graphic with more axis tick marks on the x-axis. However, those axis ticks may not be as we want yet, since they show some uneven and strange numbers.
Fortunately, we can also use the pretty_breaks function of the scales package to make our axis tick marks prettier:
ggp +                               # Assign pretty axis ticks
  scale_x_continuous(breaks = scales::pretty_breaks(n = 20))
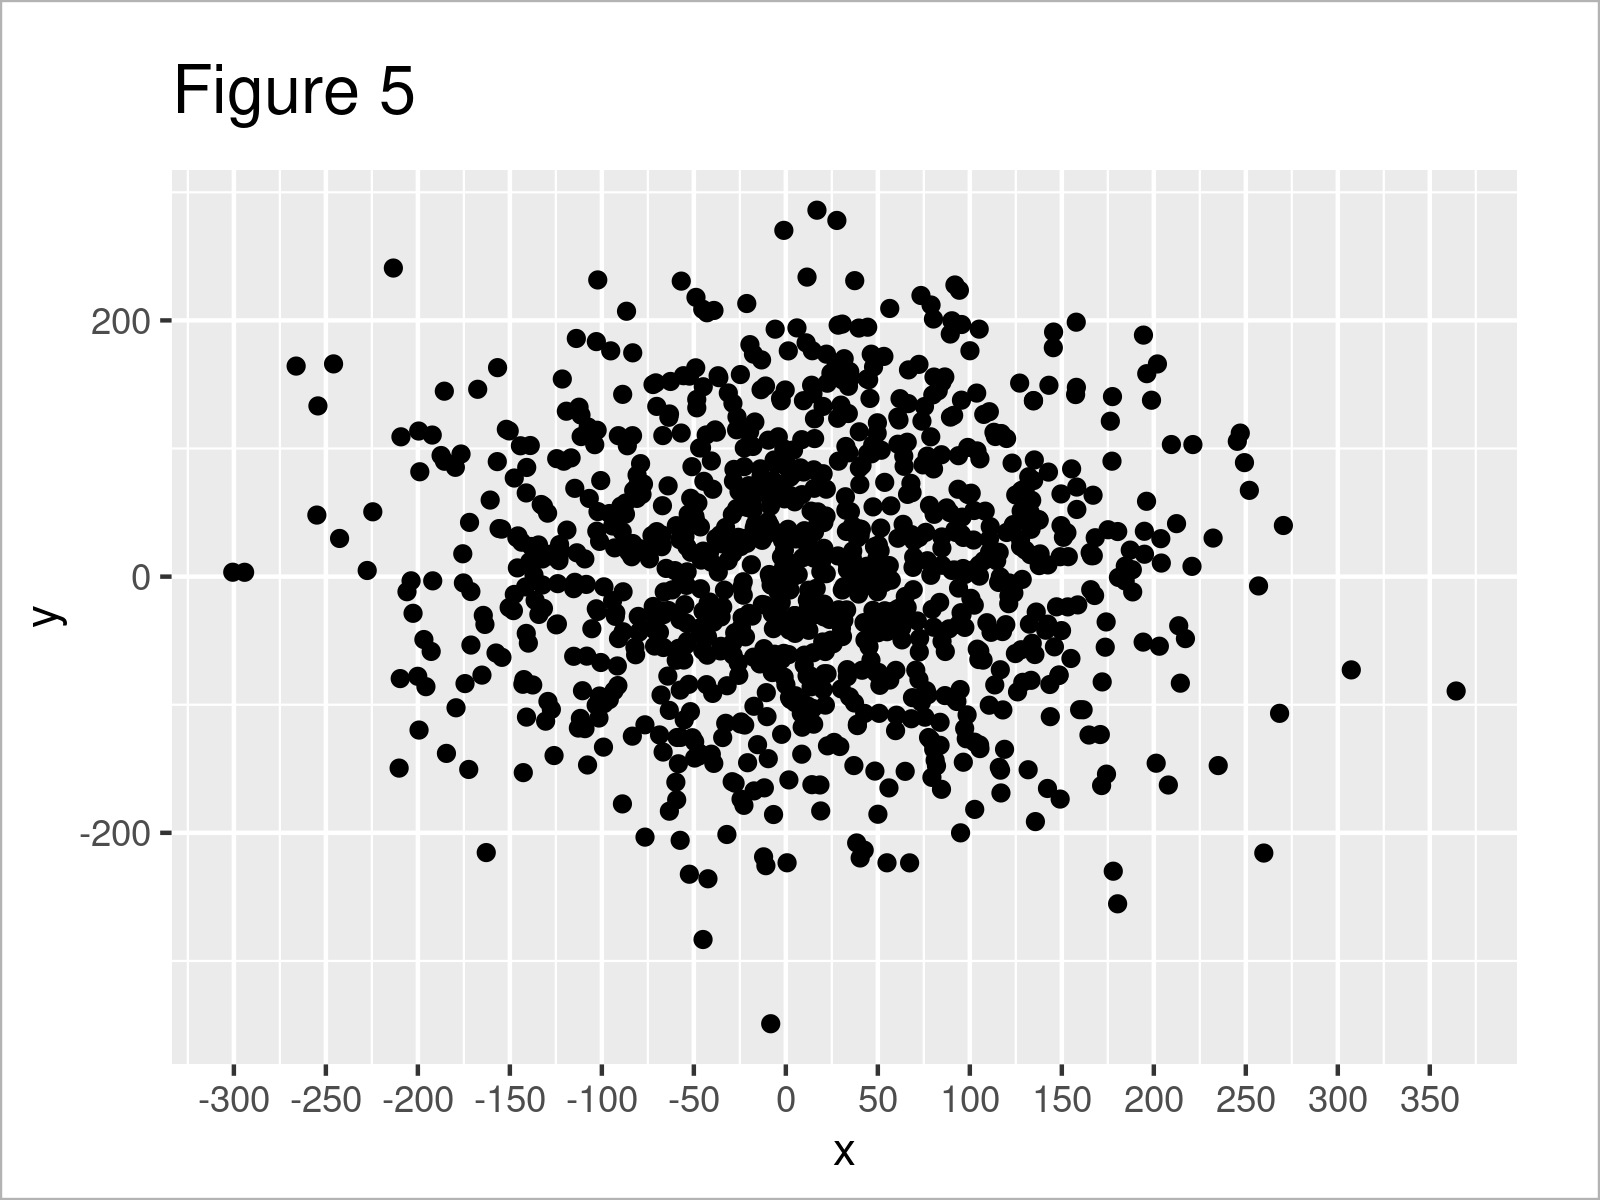
In Figure 5 it is shown that we have created another version of our ggplot2 scatterplot where the x-axis tick marks have been converted to a prettier format.
Note that we could apply the same syntax to change the y-axis ticks by using the scale_y_continuous function instead of the scale_x_continuous function. Furthermore, we could also decrease the number of axis tick marks by specifying a smaller number of breaks within the pretty_breaks function.
Video, Further Resources & Summary
Have a look at the following video on my YouTube channel. I demonstrate the R syntax of this tutorial in the video:
In addition, you may have a look at the related articles on my homepage. Some posts that are related to the modification of the number of axis tick marks in a graphic are listed below:
- Remove Axis Labels & Ticks of ggplot2 Plot (R Example)
- Change Number of Decimal Places on Axis Tick Labels of Plot
- Draw Plot with Actual Values as Axis Ticks & Labels
- Add Grid Line Consistent with Ticks on Axis to Plot
- All R Programming Tutorials
In this tutorial, I have explained how to adjust the number of axis ticks in a graphic in the R programming language. Please tell me about it in the comments, in case you have further comments or questions.


