Add Text to ggplot2 Plot in R (3 Examples)
In this article you’ll learn how to annotate text elements to ggplot2 graphics in R programming.
The article will contain the following contents:
Let’s dig in!
Example Data, Add-On Packages & Basic Plot
We’ll use the following data as basement for this R programming tutorial:
data <- data.frame(x = 1:3,         # Create example data
                   y = 1:3)
data                                # Print example data
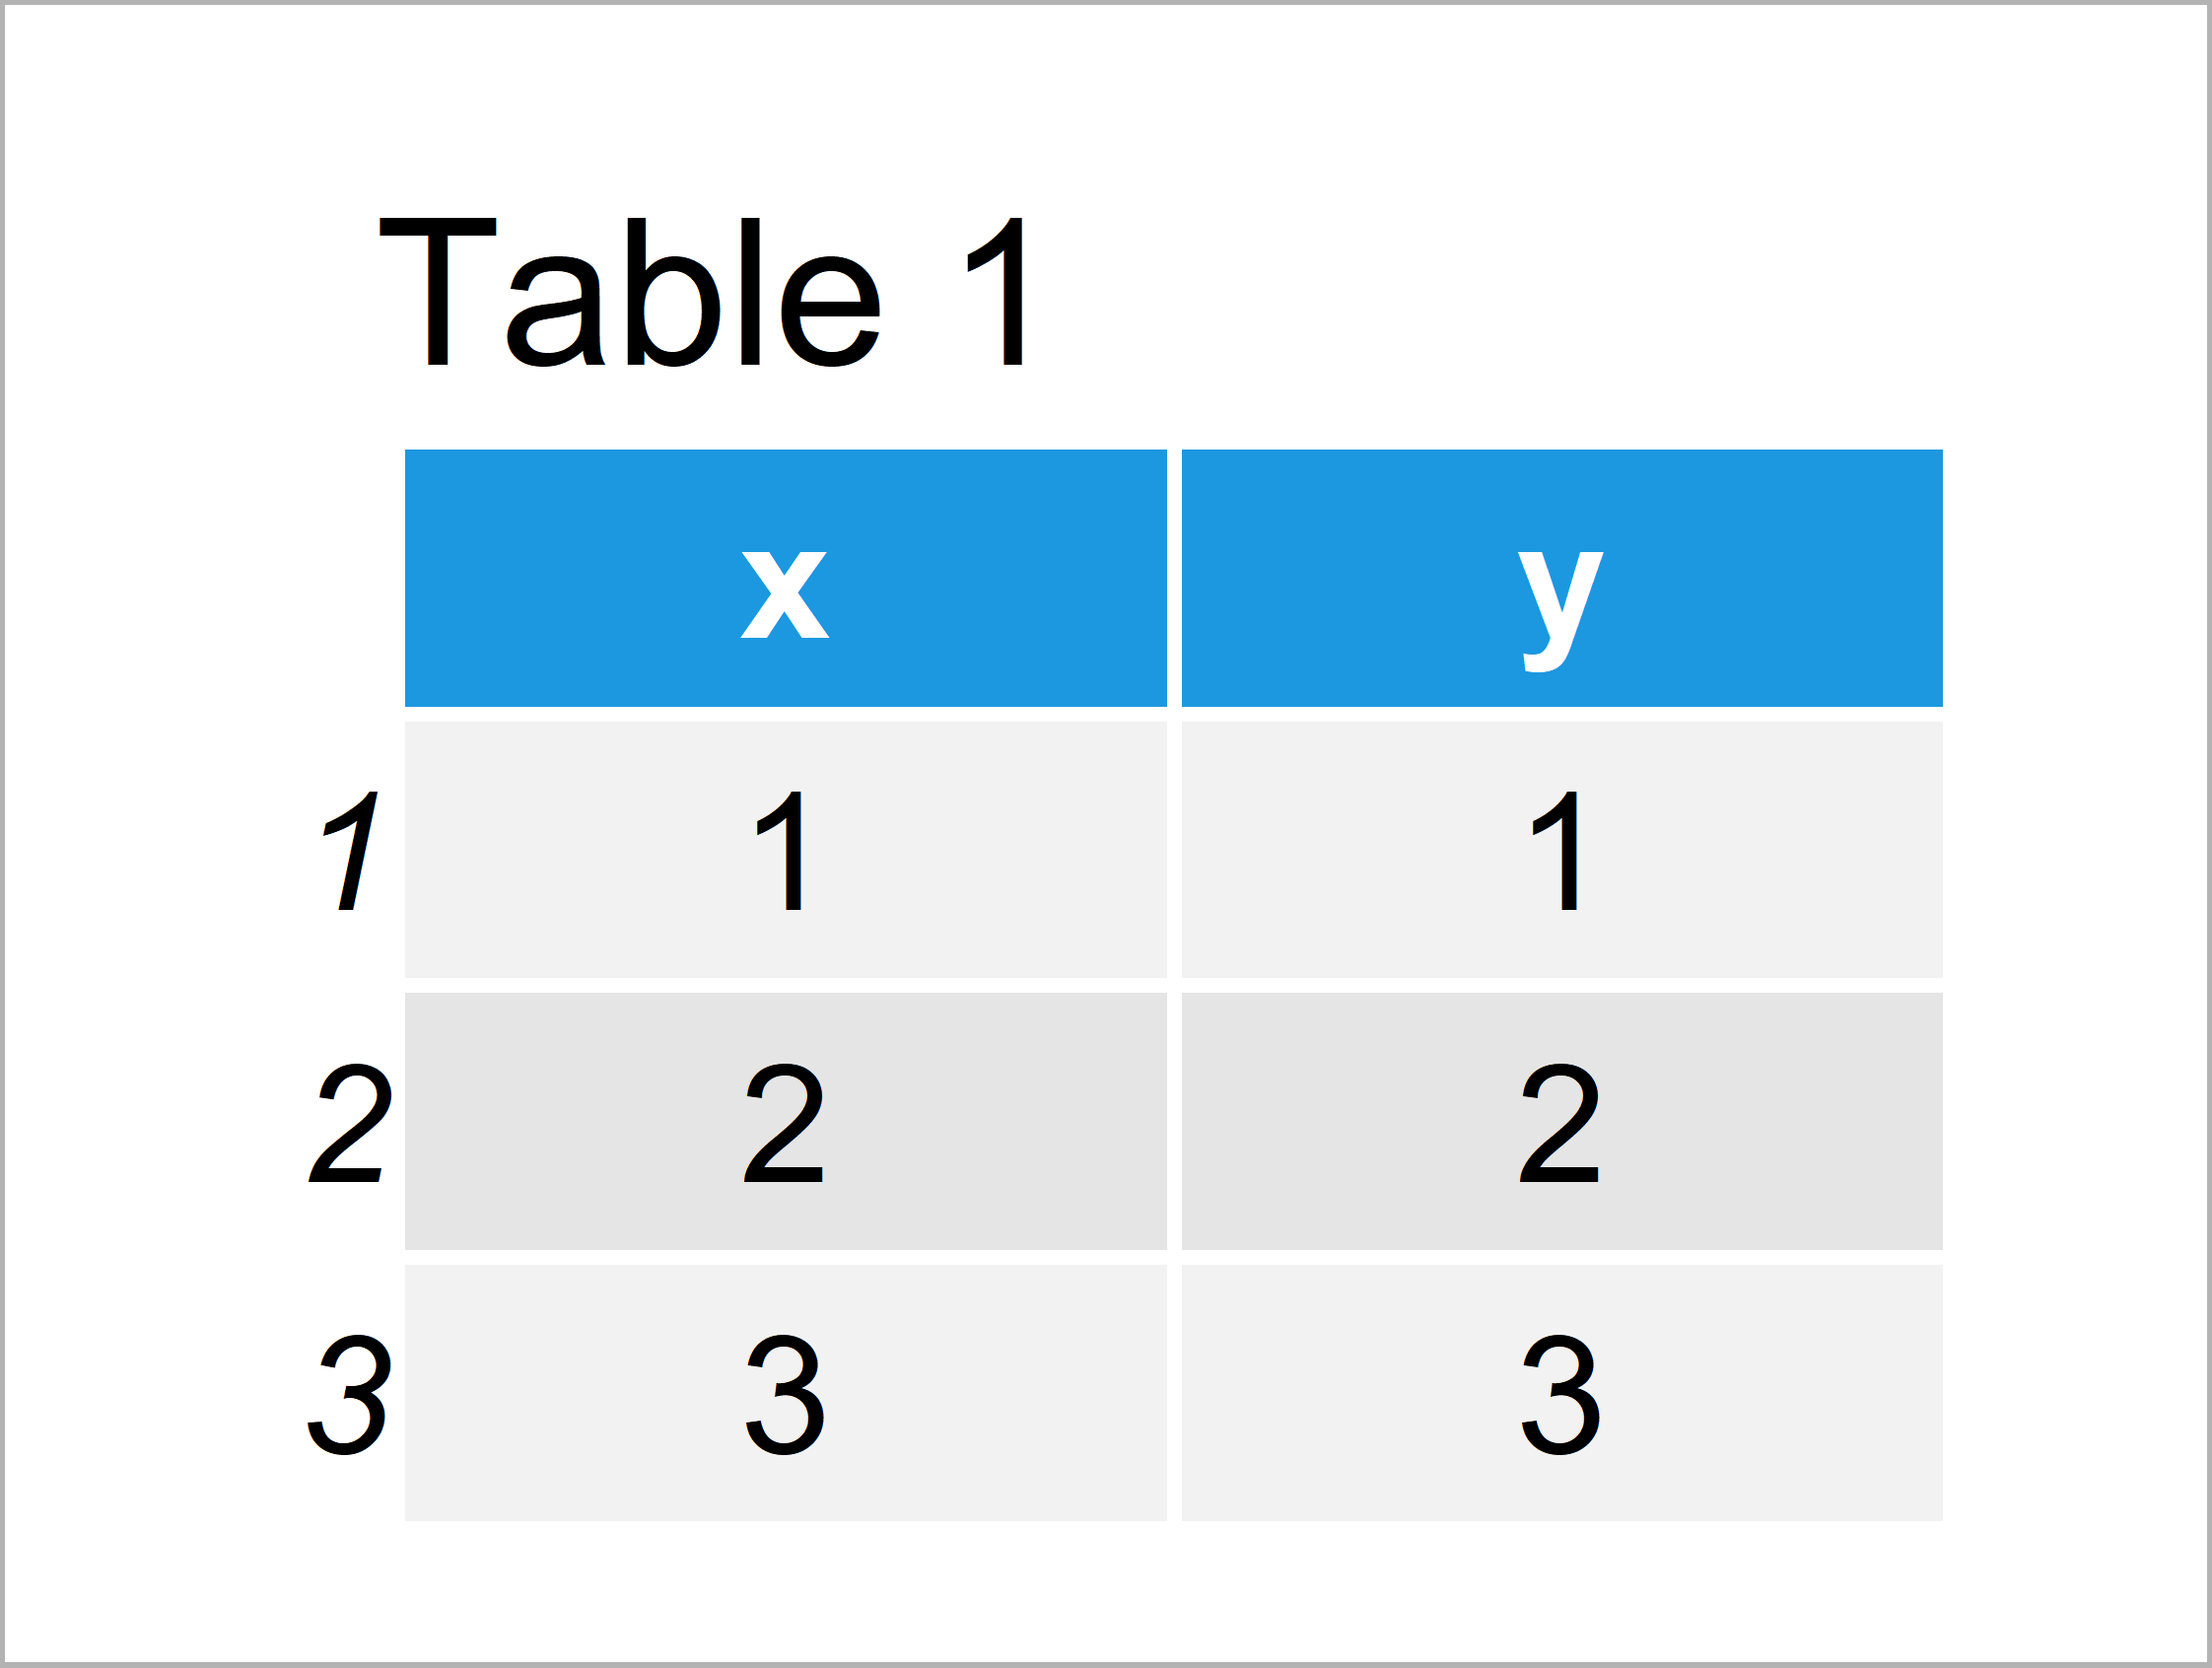
Table 1 shows that the example data consists of three rows and two variables.
If we want to use the functions of the ggplot2 package, we also have to install and load ggplot2 to R:
install.packages("ggplot2")         # Install & load ggplot2
library("ggplot2")
Now, we can draw our data as follows:
ggp <- ggplot(data, aes(x, y)) +    # Create ggplot2 plot
  geom_point()
ggp                                 # Draw ggplot2 plot
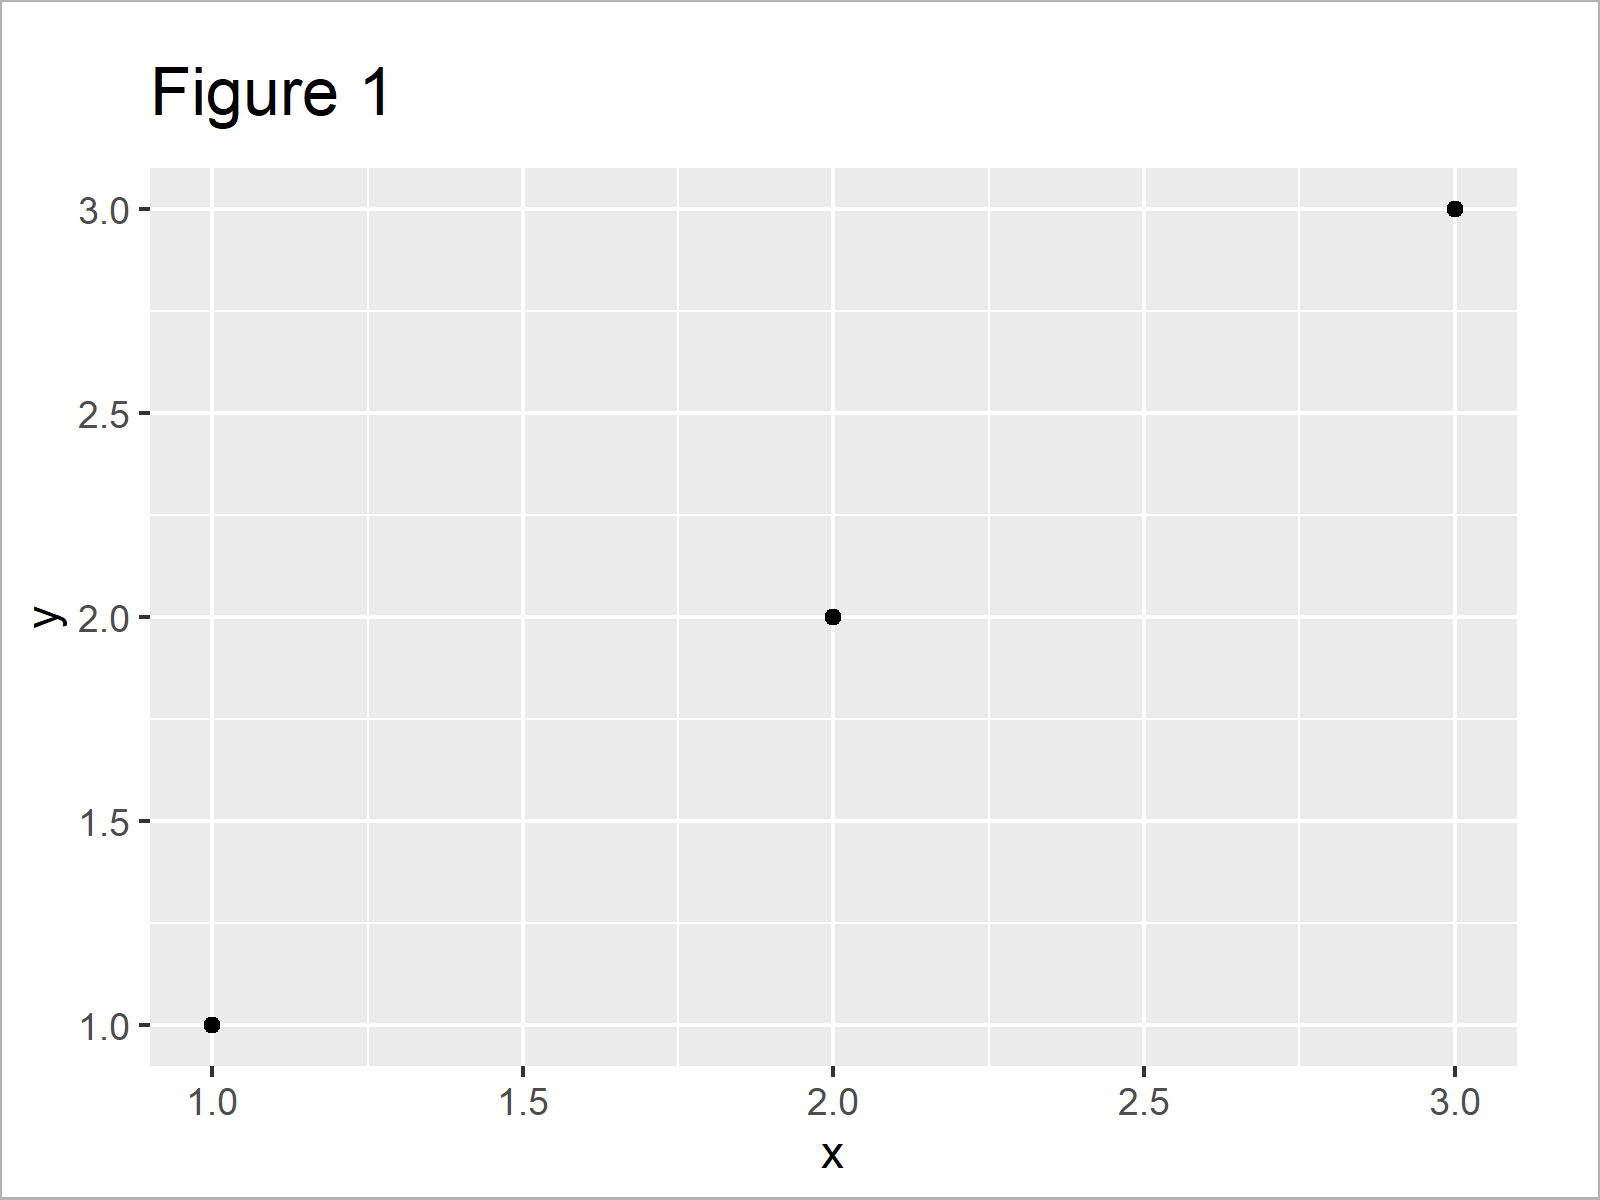
As shown in Figure 1, we have created a scatterplot without any text elements using the ggplot2 package.
Example 1: Annotate Single Text Element to ggplot2 Plot
In Example 1, I’ll illustrate how to add a single text element to our ggplot2 graphic.
For this, we can use the annotate function that is provided by the ggplot2 package. Within the annotate function, we have to specify that we want to annotate “text”, the x and y coordinates where the text should be shown, and the text label that we want to add.
Have a look at the following R code and the resulting graphic:
ggp +                               # Add text element to plot
  annotate("text", x = 1.5, y = 2.2, label = "Text No. 1")
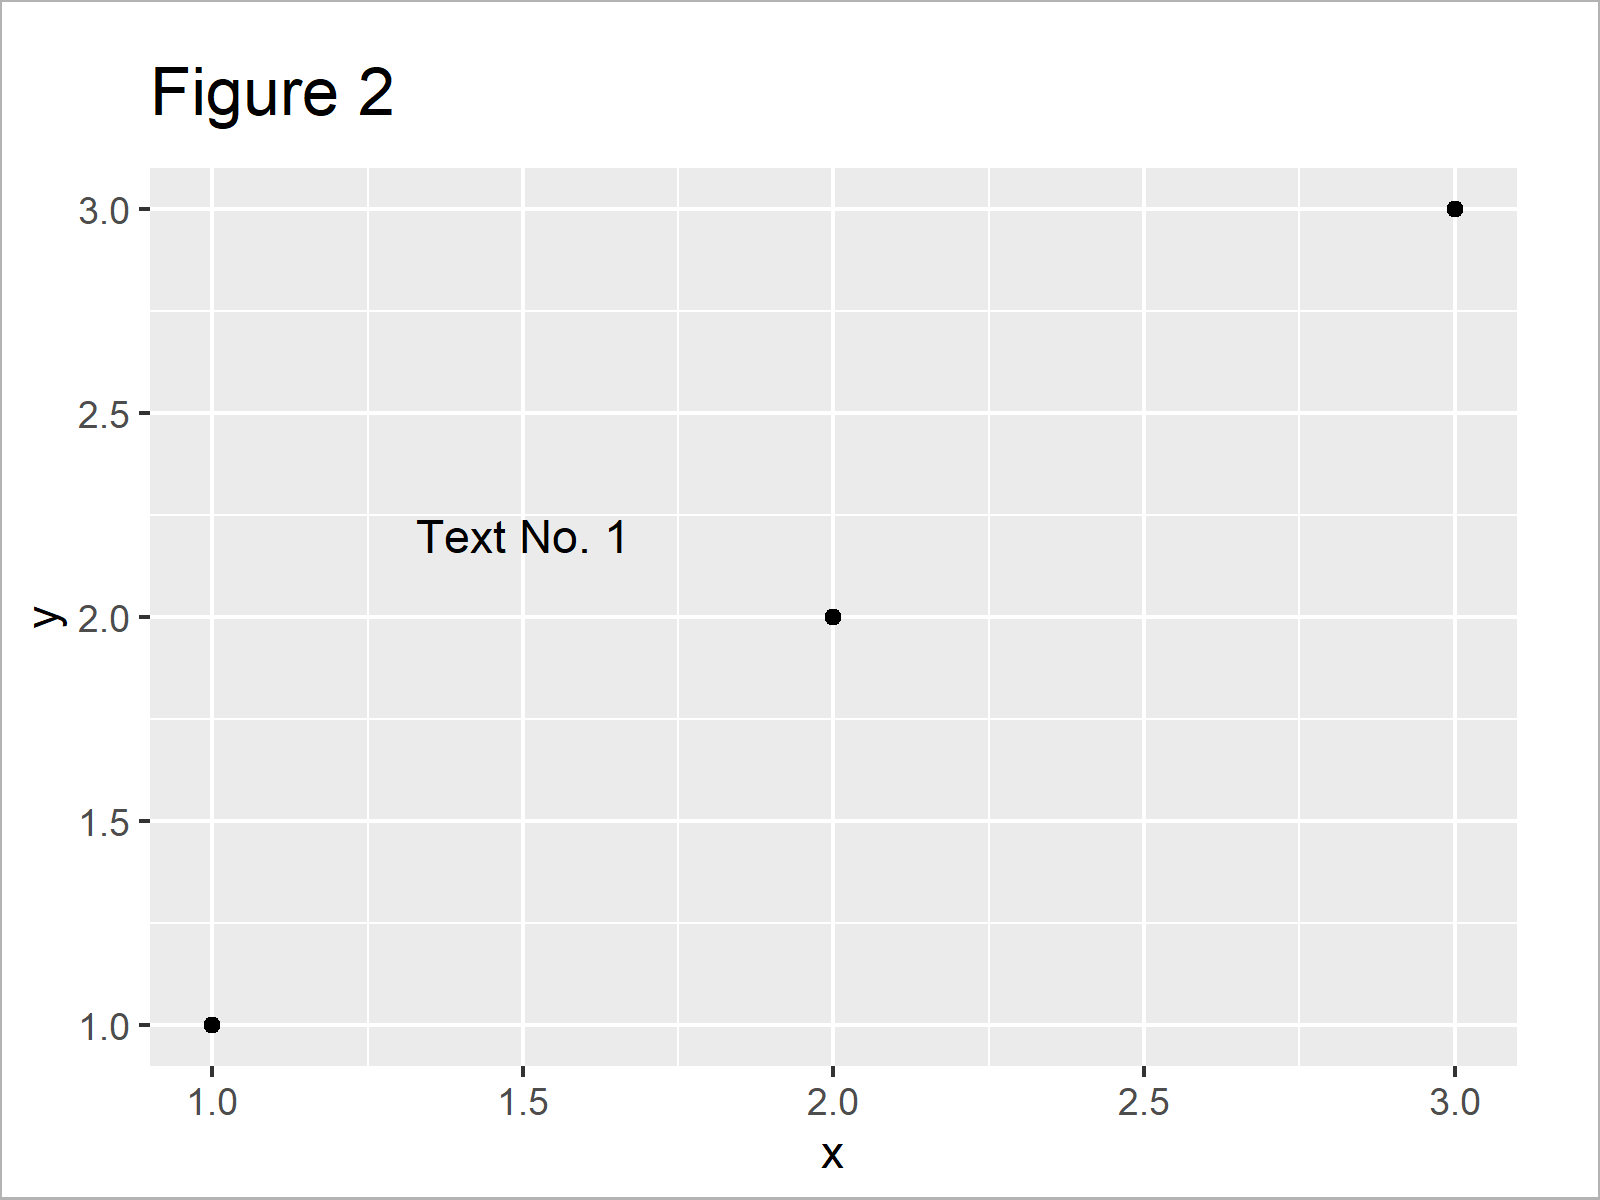
As shown in Figure 2, the previous syntax has created a ggplot2 plot with one text element in the middle of the plot.
Example 2: Annotate Multiple Text Elements to ggplot2 Plot
In Example 2, I’ll show how to draw several text elements to the same plot.
For this task, we simply can specify the annotate function once for each text element that we want to add:
ggp +                               # Add multiple text elements to plot
  annotate("text", x = 1.5, y = 2.2, label = "Text No. 1") +
  annotate("text", x = 2.25, y = 1.4, label = "Text No. 2")
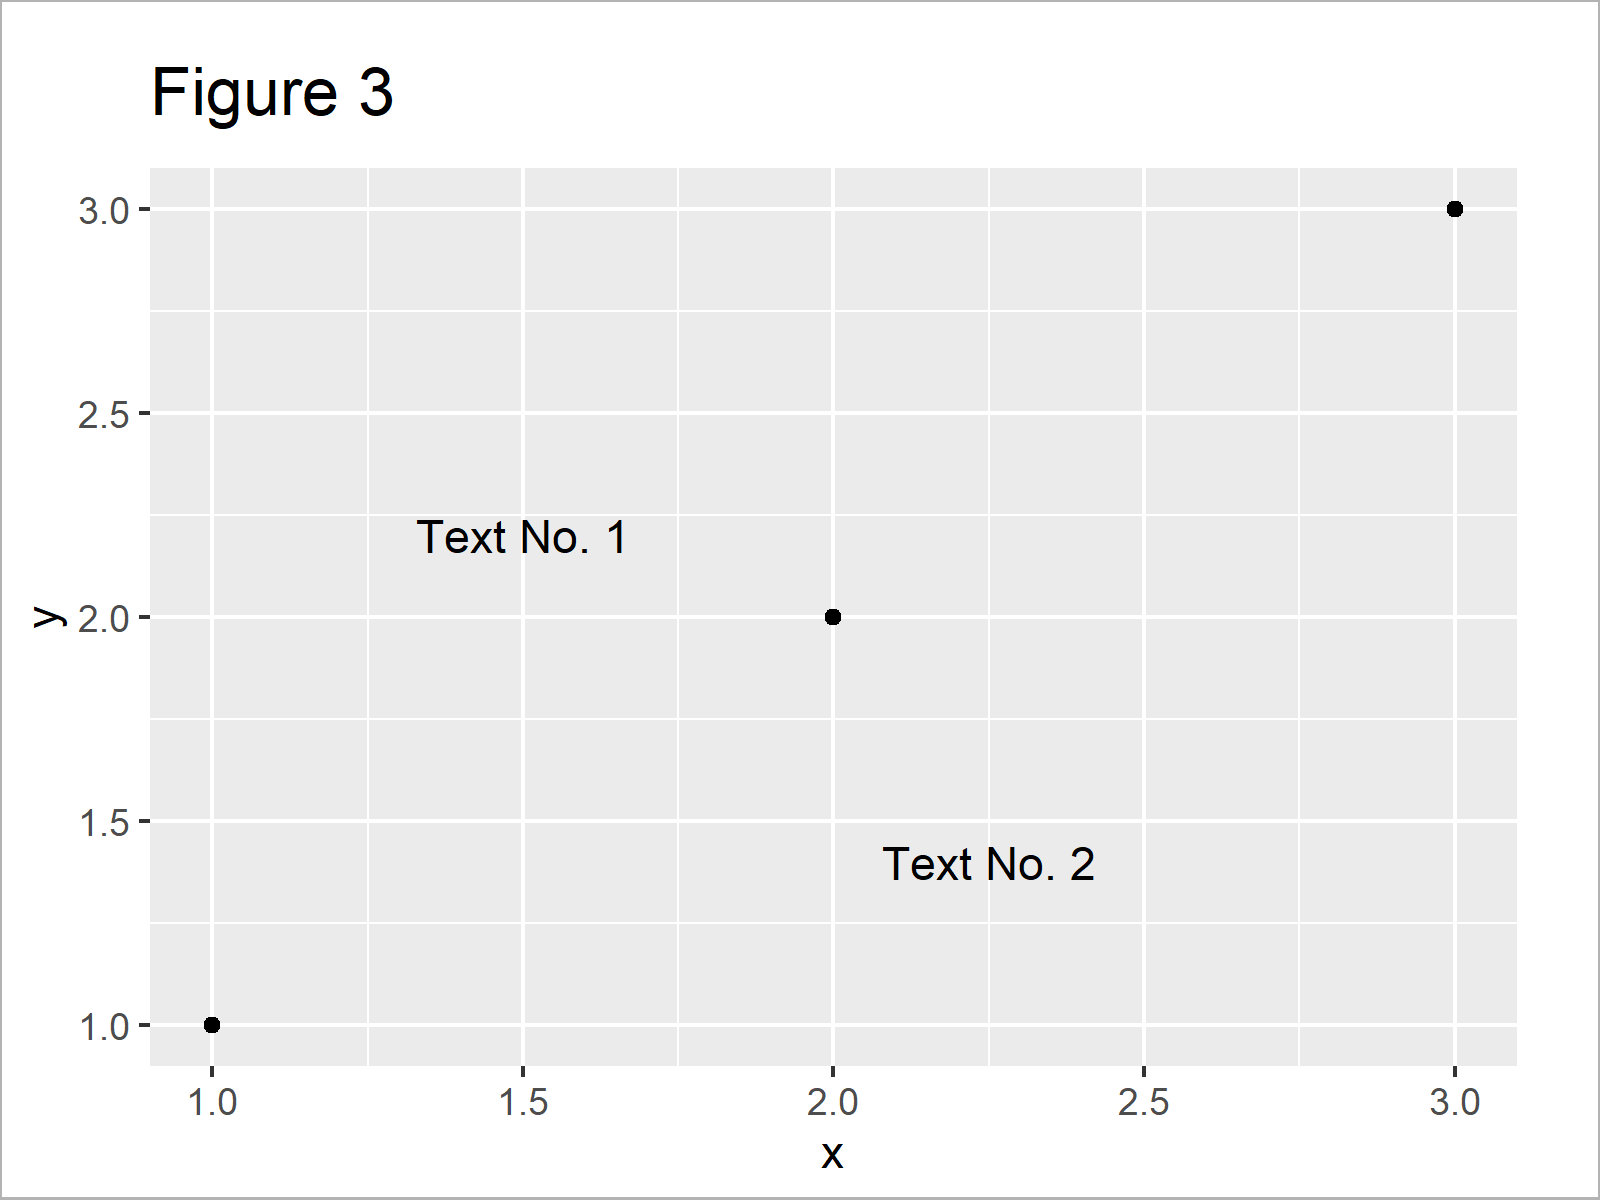
After executing the previous R programming syntax the ggplot2 plot with two text elements shown in Figure 3 has been drawn.
Example 3: Modify Color & Size of Text Element in ggplot2 Plot
In this example, I’ll illustrate how to adjust color and size of text elements in a ggplot2 graphic.
For this, we have to specify the col and size arguments within the annotate function:
ggp +                               # Change color & size of text
  annotate("text", x = 1.5, y = 2.2, label = "Text No. 1",
           col = "red", size = 10)
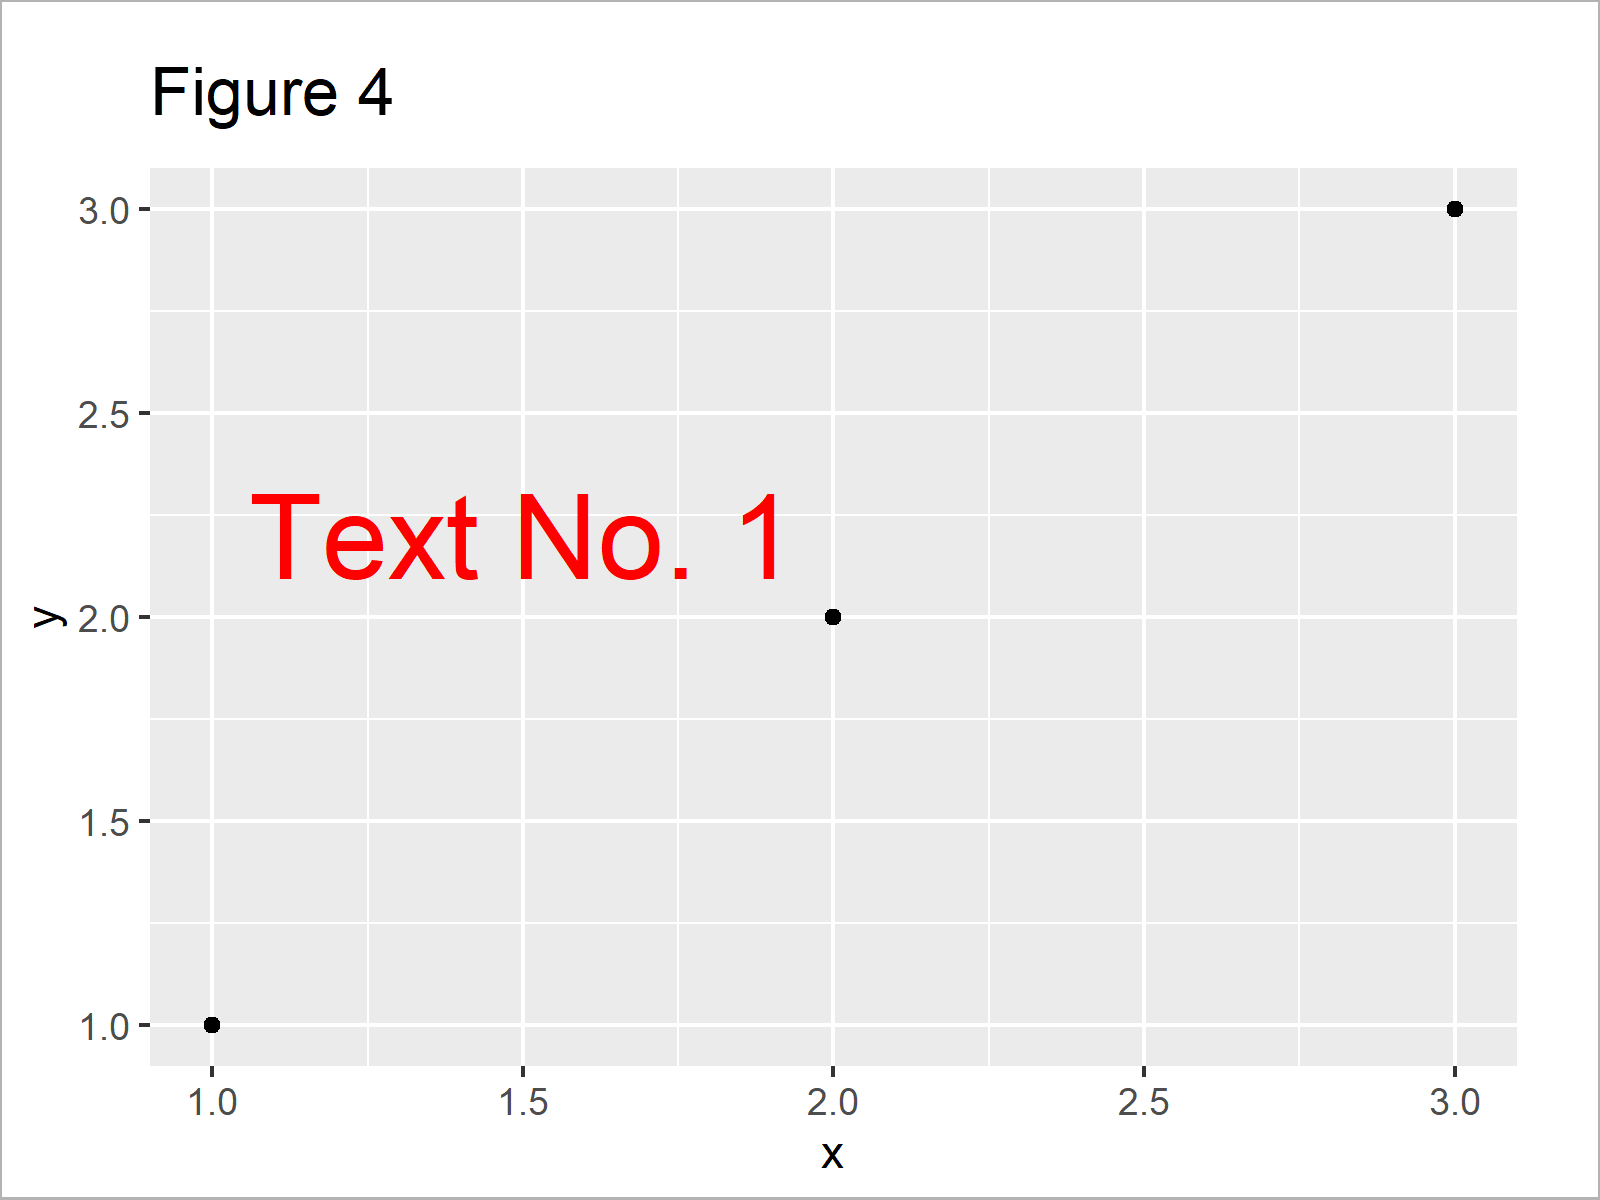
As illustrated in Figure 4, we have created a text element in red with a large size.
Video, Further Resources & Summary
If you need more information on the R code of this post, I recommend having a look at the following video of my YouTube channel. I’m explaining the R codes of this tutorial in the video:
Besides the video, you may have a look at the related R tutorials on https://www.statisticsglobe.com/. You can find a selection of other tutorials below.
- Left-Align Text in ggplot2 Plot
- Annotate Multiple Lines of Text to ggplot2 Plot
- Add Individual Text to Each Facet of ggplot2 Plot
- Annotate Text Outside of ggplot2 Plot
- Add X & Y Axis Labels to ggplot2 Plot
- Add Greek Symbols to ggplot2 Plot in R
- Add Text to Plot Using text() Function in Base R
- Add Regression Line to ggplot2 Plot in R
- Plotting Data in R
- Introduction to R
Summary: You have learned in this tutorial how to add text to a ggplot2 graph in the R programming language. In case you have further questions, let me know in the comments.



2 Comments. Leave new
This somehow does not work. I get the error “Error: Invalid input: date_trans works with objects of class Date only” and my data does not contain any dates.
Hi Kar,
Please have a look at this tutorial. It explains how to handle this error message.
Regards,
Joachim