textxy() Function of calibrate Package in R (4 Examples)
In this tutorial you’ll learn how to apply the textxy function to add text labels to plots in the R programming language.
The content of the tutorial looks like this:
Let’s dig in.
Example Data, Software Packages & Default Plot
Have a look at the following example data:
data <- data.frame(x = 5:9,        # Create example data frame
                   y = 1:5)
data                               # Print example data frame
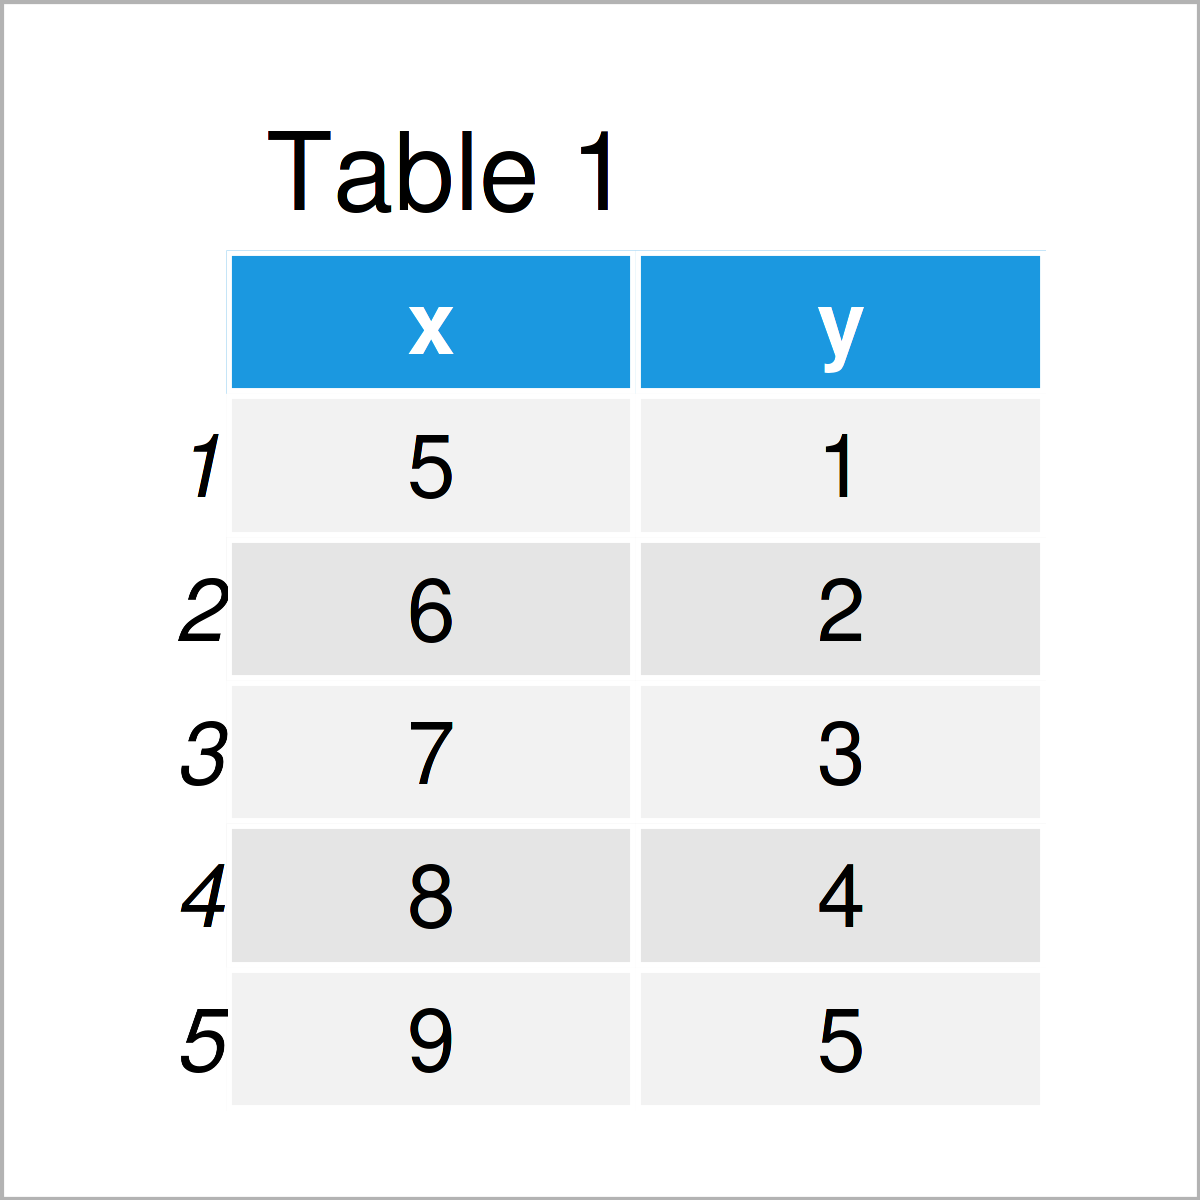
Table 1 shows the structure of our example data: It comprises five observations and two integer columns.
Next, we can plot the data in a scatterplot without any additional text elements:
plot(data) # Draw plot without text
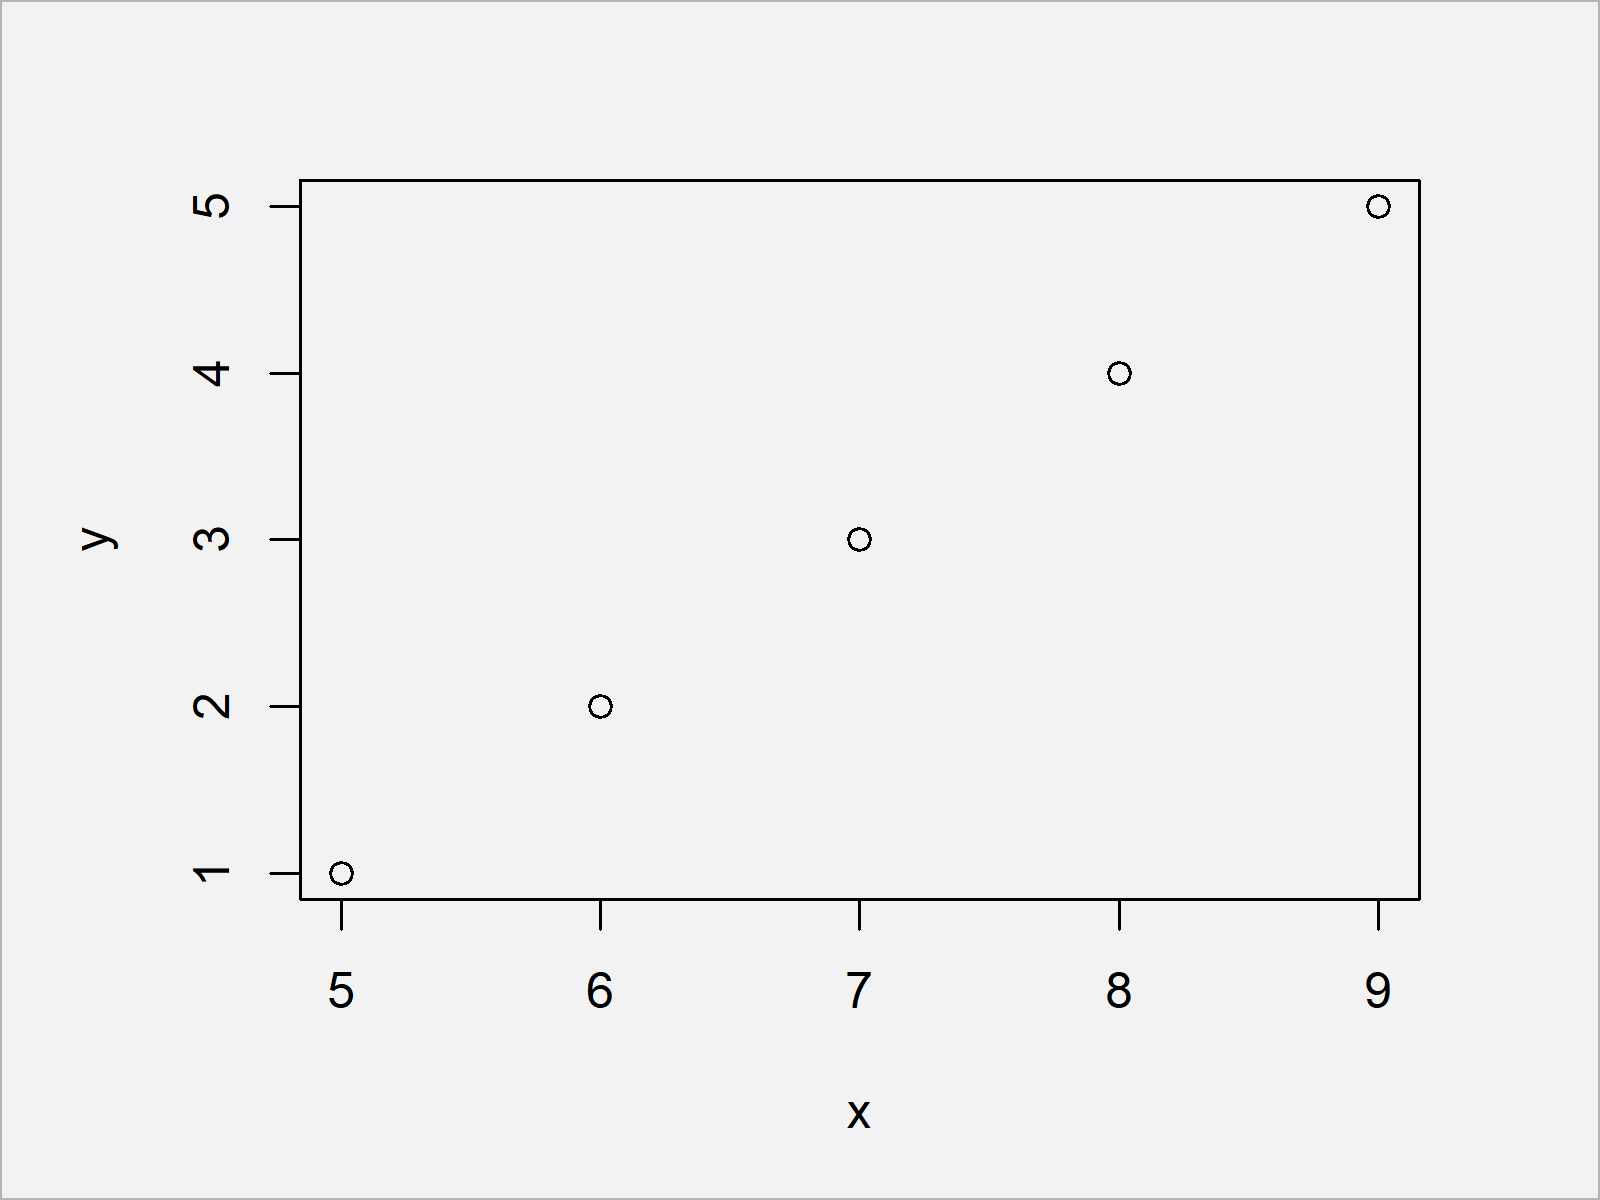
After executing the previous R programming syntax the Base R scatterplot shown in Figure 1 has been created.
For the following tutorial, we’ll also have to install and load the calibrate package to RStudio:
install.packages("calibrate")      # Install & load calibrate package
library("calibrate")
After installing and loading the calibrate package, we can apply the textxy function that we will use in the following examples of this tutorial.
Let’s do this!
Example 1: Basic Application of textxy() Function
The following syntax explains how to use the textxy command to add a simple text element with default specification to a Base R plot.
Consider the following R syntax:
plot(data)                         # Draw plot without text
textxy(X = 6,                      # Add text to plot
       Y = 3,
       labs = "My Text")
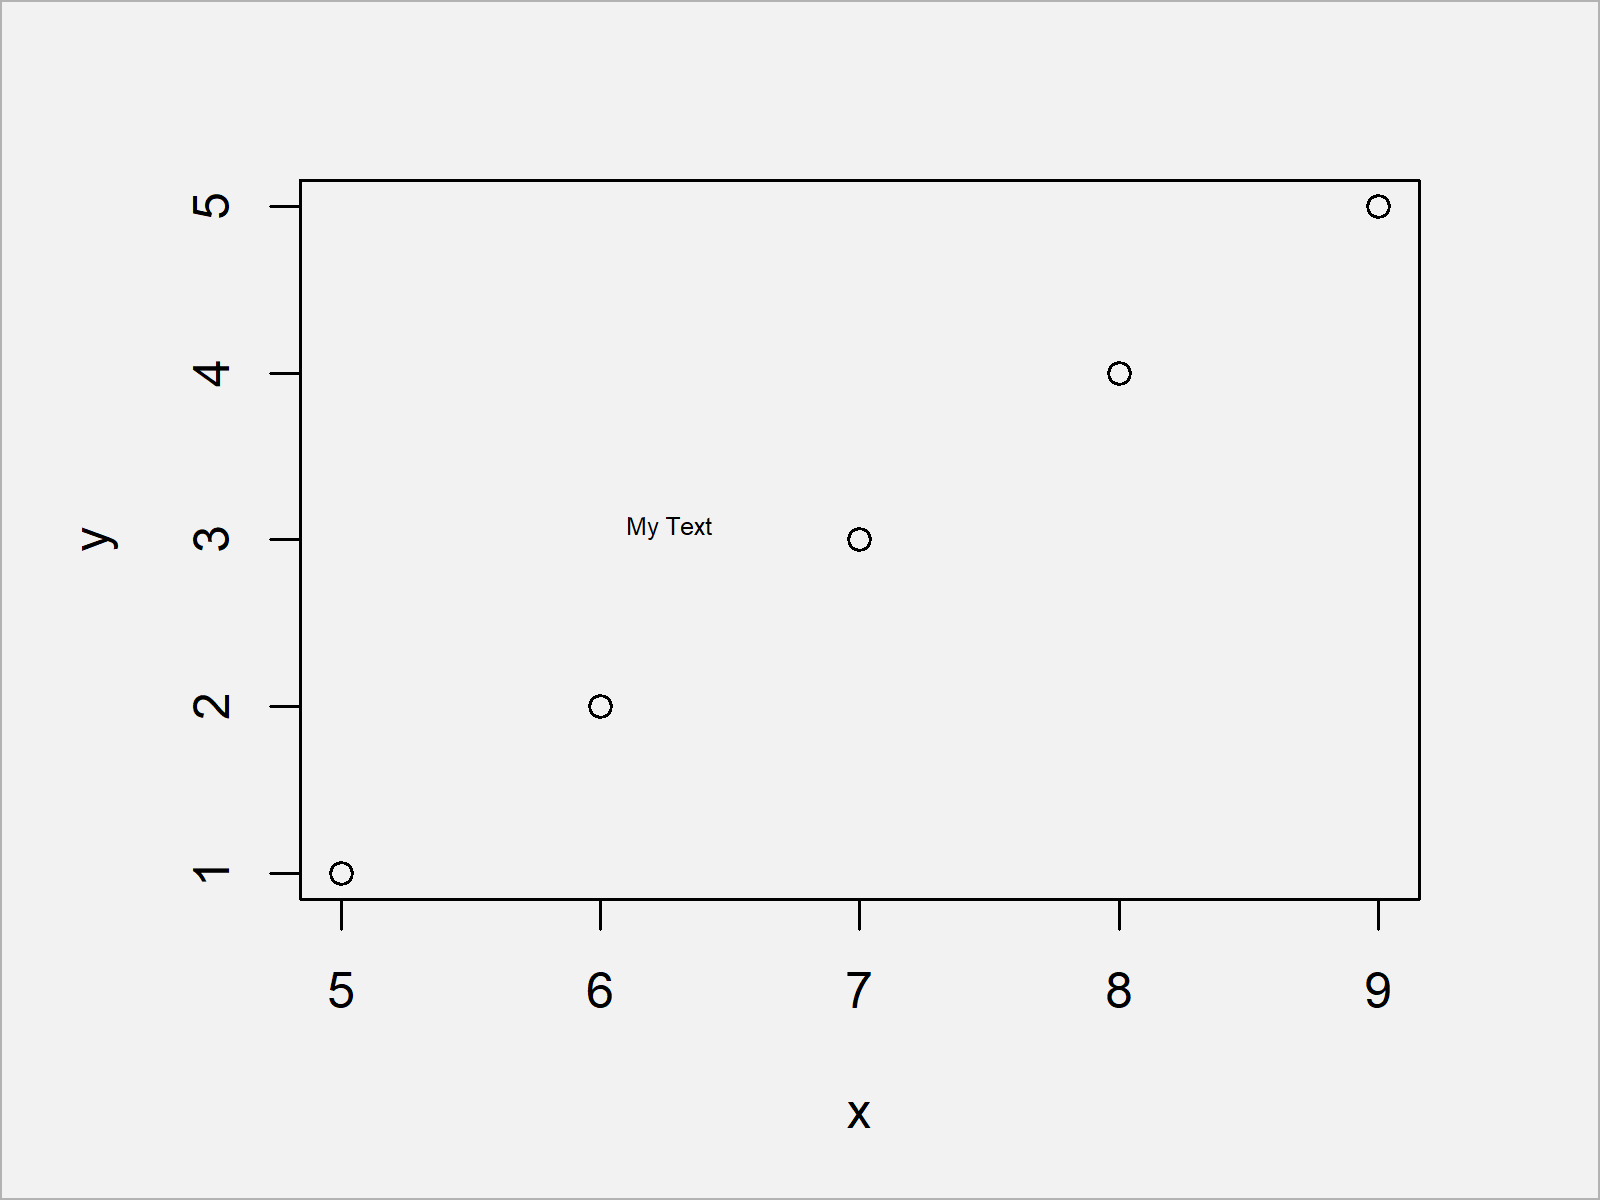
As you can see in Figure 1, we have added a single text element at the xy-coordinates 6 and 3.
Example 2: Add Multiple Text Elements Using textxy() Function
Example 2 explains how to insert multiple text elements to a graphic using a single call of the textxy function.
To achieve this, we have to specify a vector to each of the arguments within the textxy command:
plot(data)                         # Draw plot without text
textxy(X = c(6, 7, 8.5),           # Add text to plot
       Y = c(3, 2, 4),
       labs = paste("My Text", 1:3))
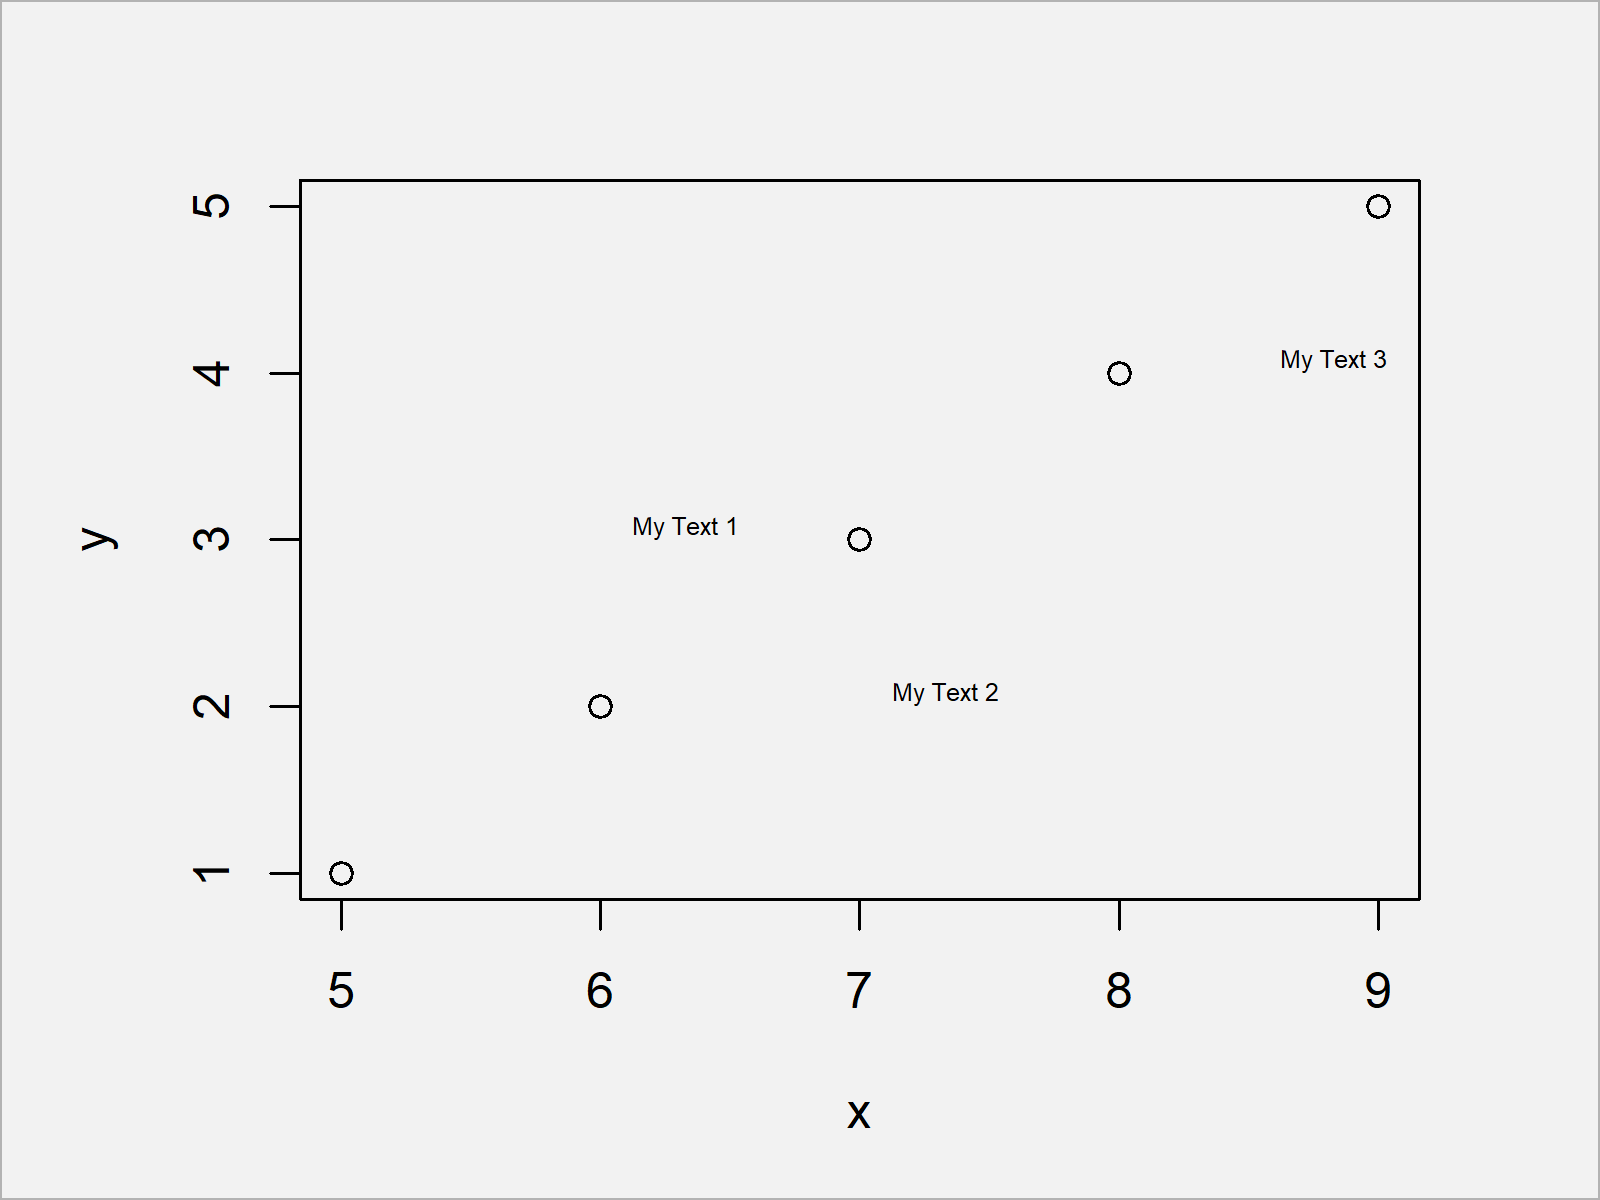
Figure 2 visualizes our updated graph. We have annotated several different text elements to this plot.
Example 3: Modify Font Size of Text Elements Using textxy() Function
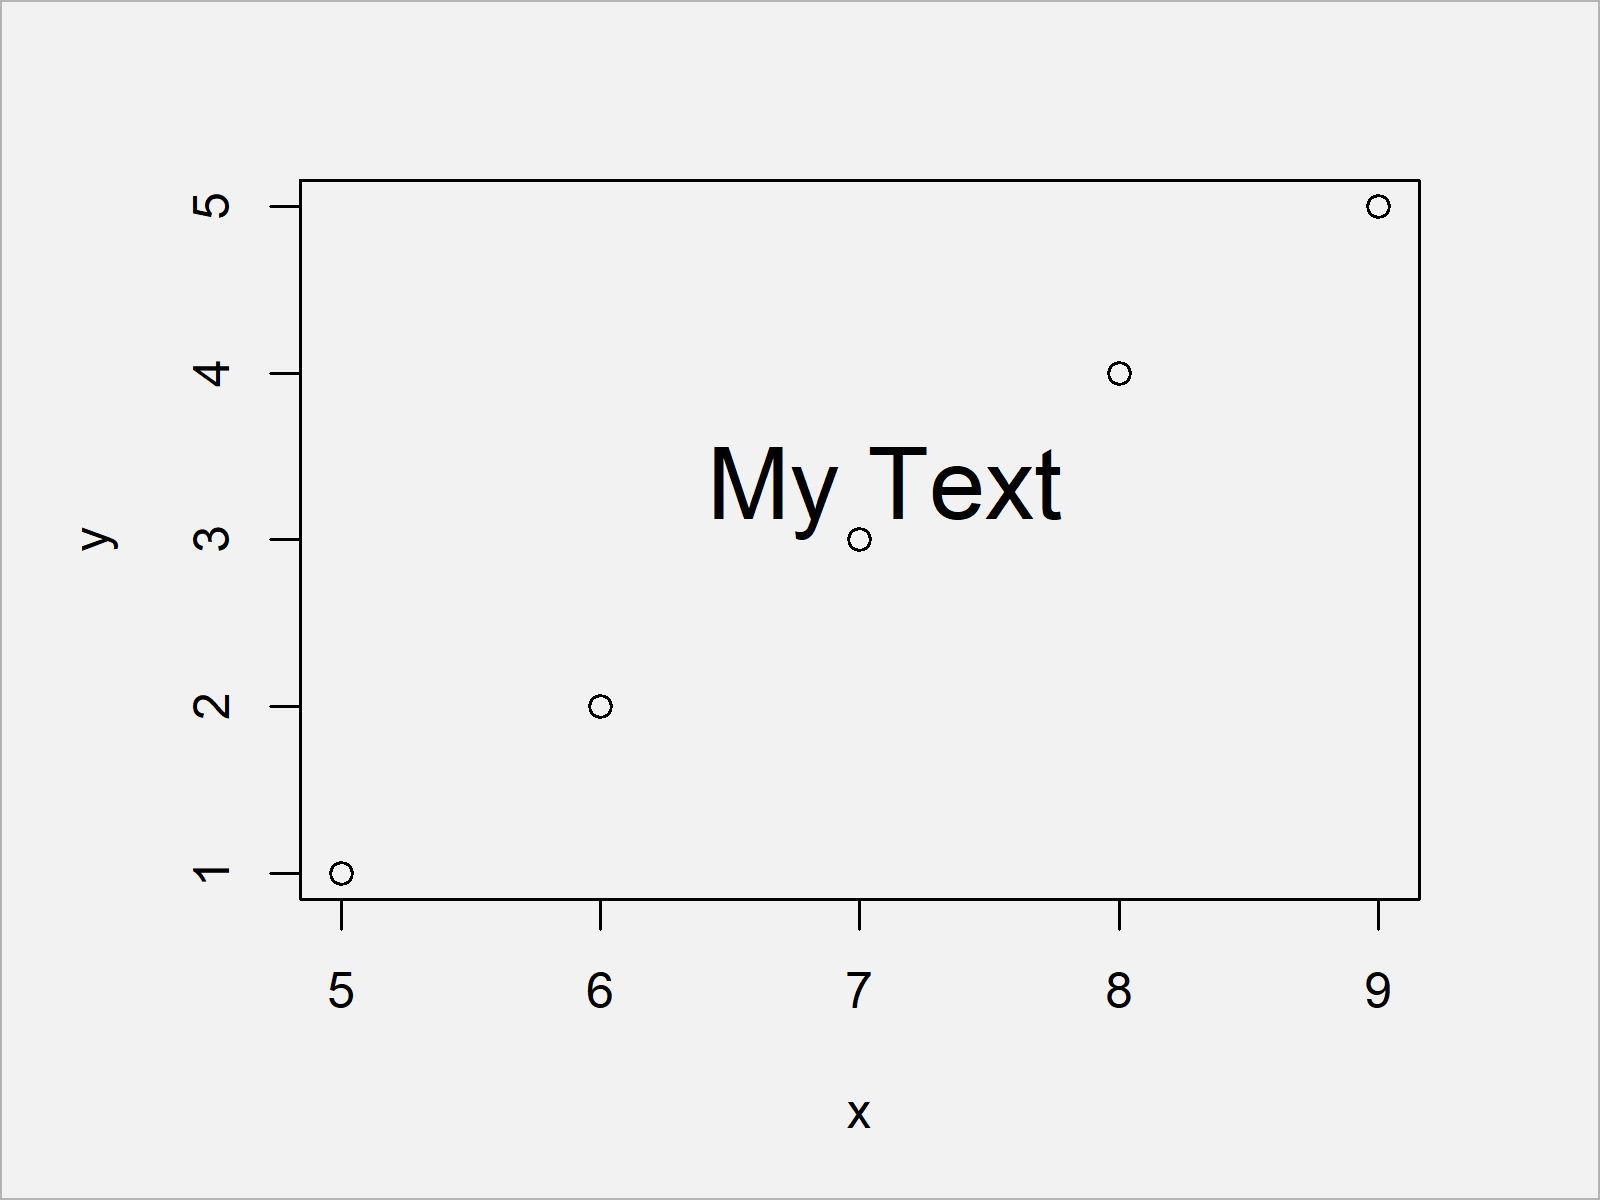
The following R code shows how to change the font size of the text elements added by the textxy function.
For this task, we have to increase or decrease the cex argument:
plot(data)                         # Draw plot without text
textxy(X = 6,                      # Add text to plot
       Y = 3,
       labs = "My Text",
       cex = 2)                    # Specify size of font
Example 4: Modify Color of Text Elements Using textxy() Function
The following R programming code demonstrates how to change the color of our text element using the col argument:
plot(data)                         # Draw plot without text
textxy(X = 6,                      # Add text to plot
       Y = 3,
       labs = "My Text",
       cex = 2,                    # Specify size of font
       col = 2)                    # Specify color
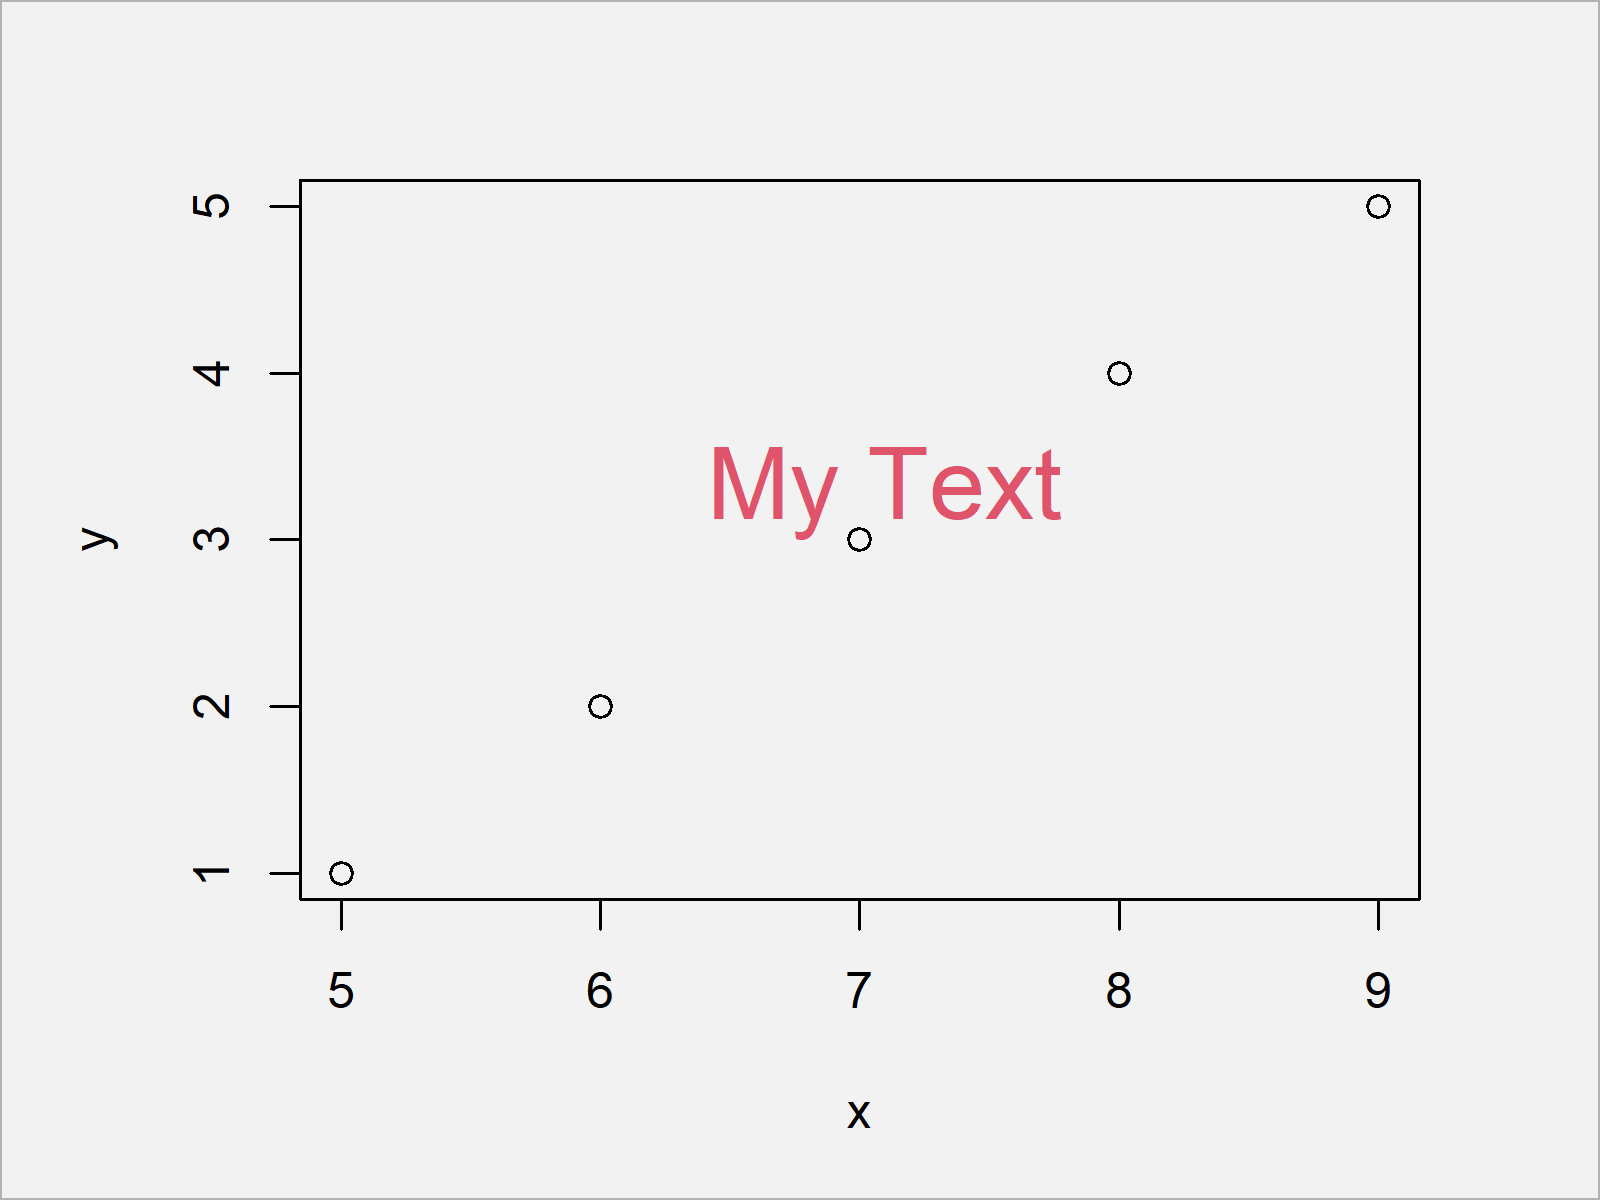
In this case, we have used the color red. However, you may use any hex color code that you want.
Video & Further Resources
Do you need more explanations on the R programming syntax of this article? Then you might want to have a look at the following video on my YouTube channel. In the video, I’m explaining the topics of this article:
Furthermore, you might read some of the related articles on this website:
- mtext Function in R
- Add Text to Plot Using text() Function in Base R
- Add Text to ggplot2 Plot in R
- Add Bold & Italic Text to ggplot2 Plot
- Important Functions in R
- All R Programming Tutorials
You have learned in this article how to apply the textxy function in the R programming language. Don’t hesitate to let me know in the comments, if you have further comments or questions.


